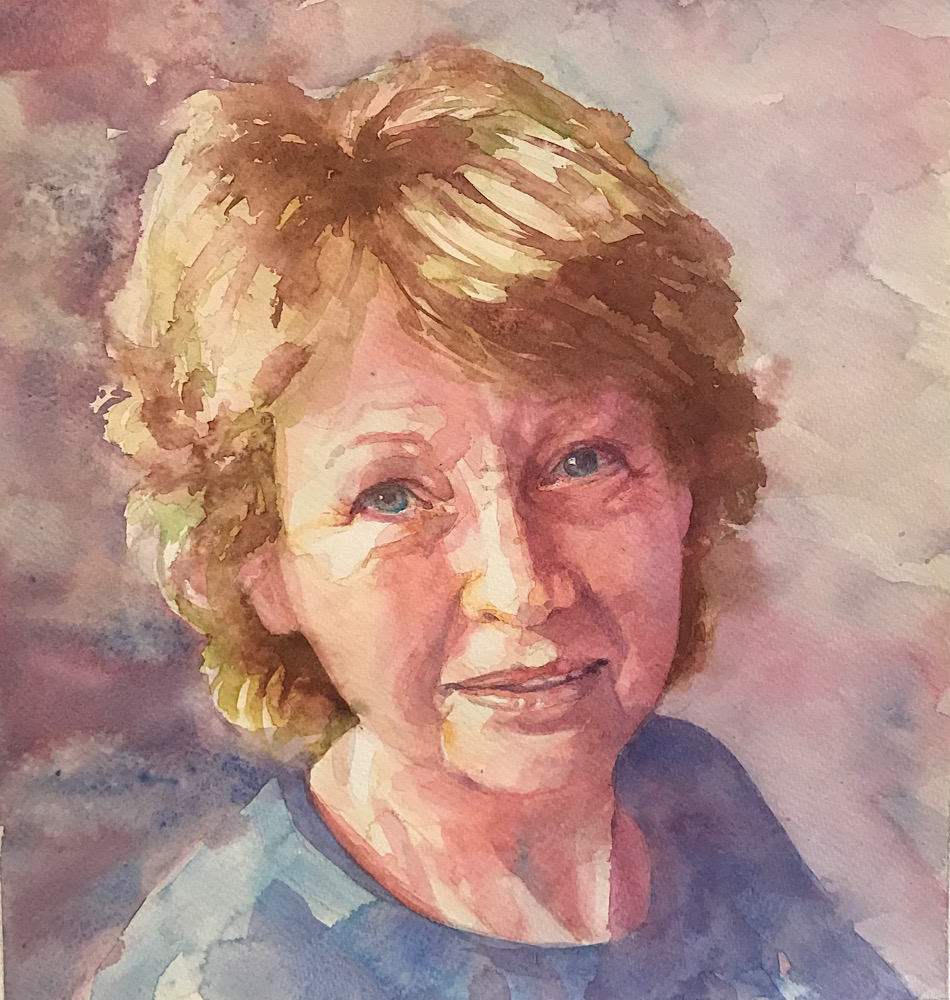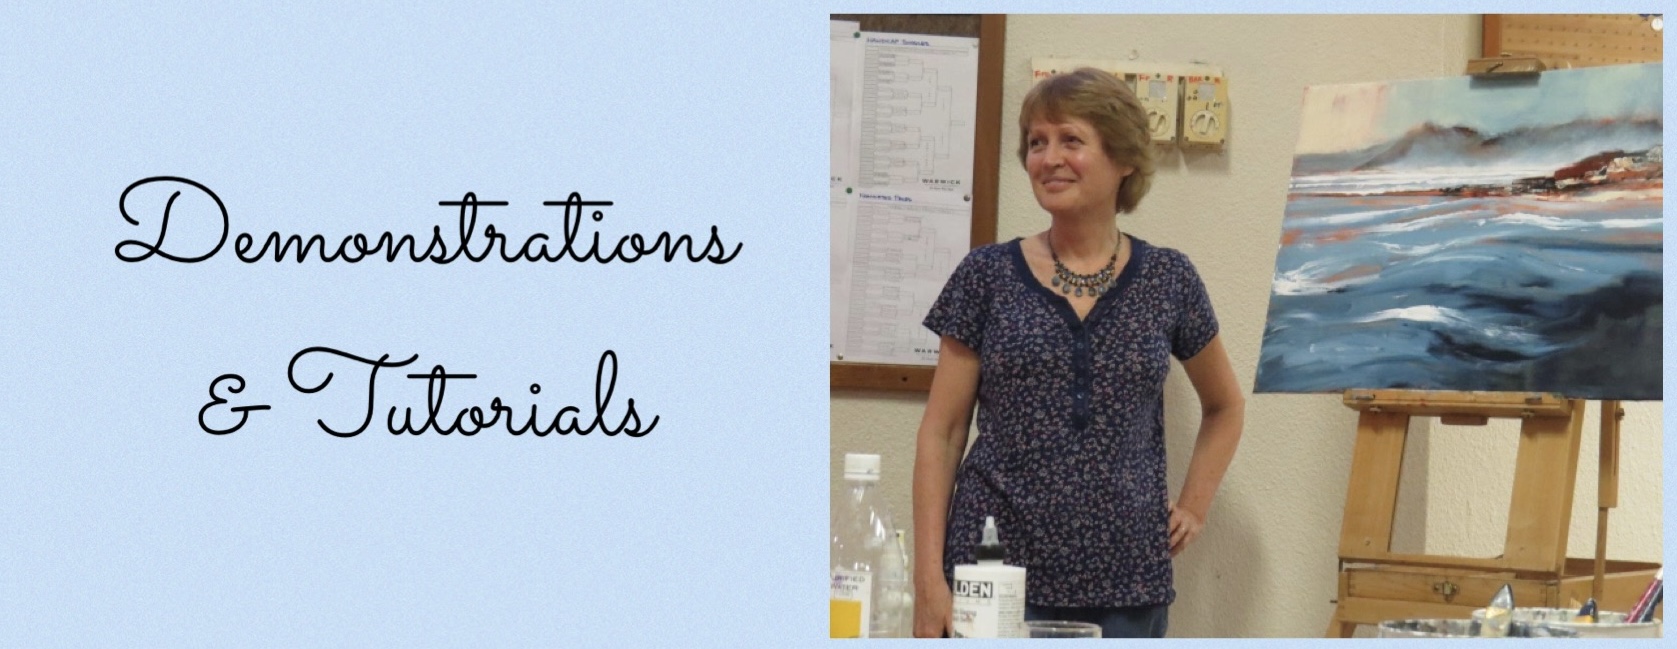
Self Portrait Demonstration in Watercolour
Created for the Watercolour Techniques and Tips Facebook group.
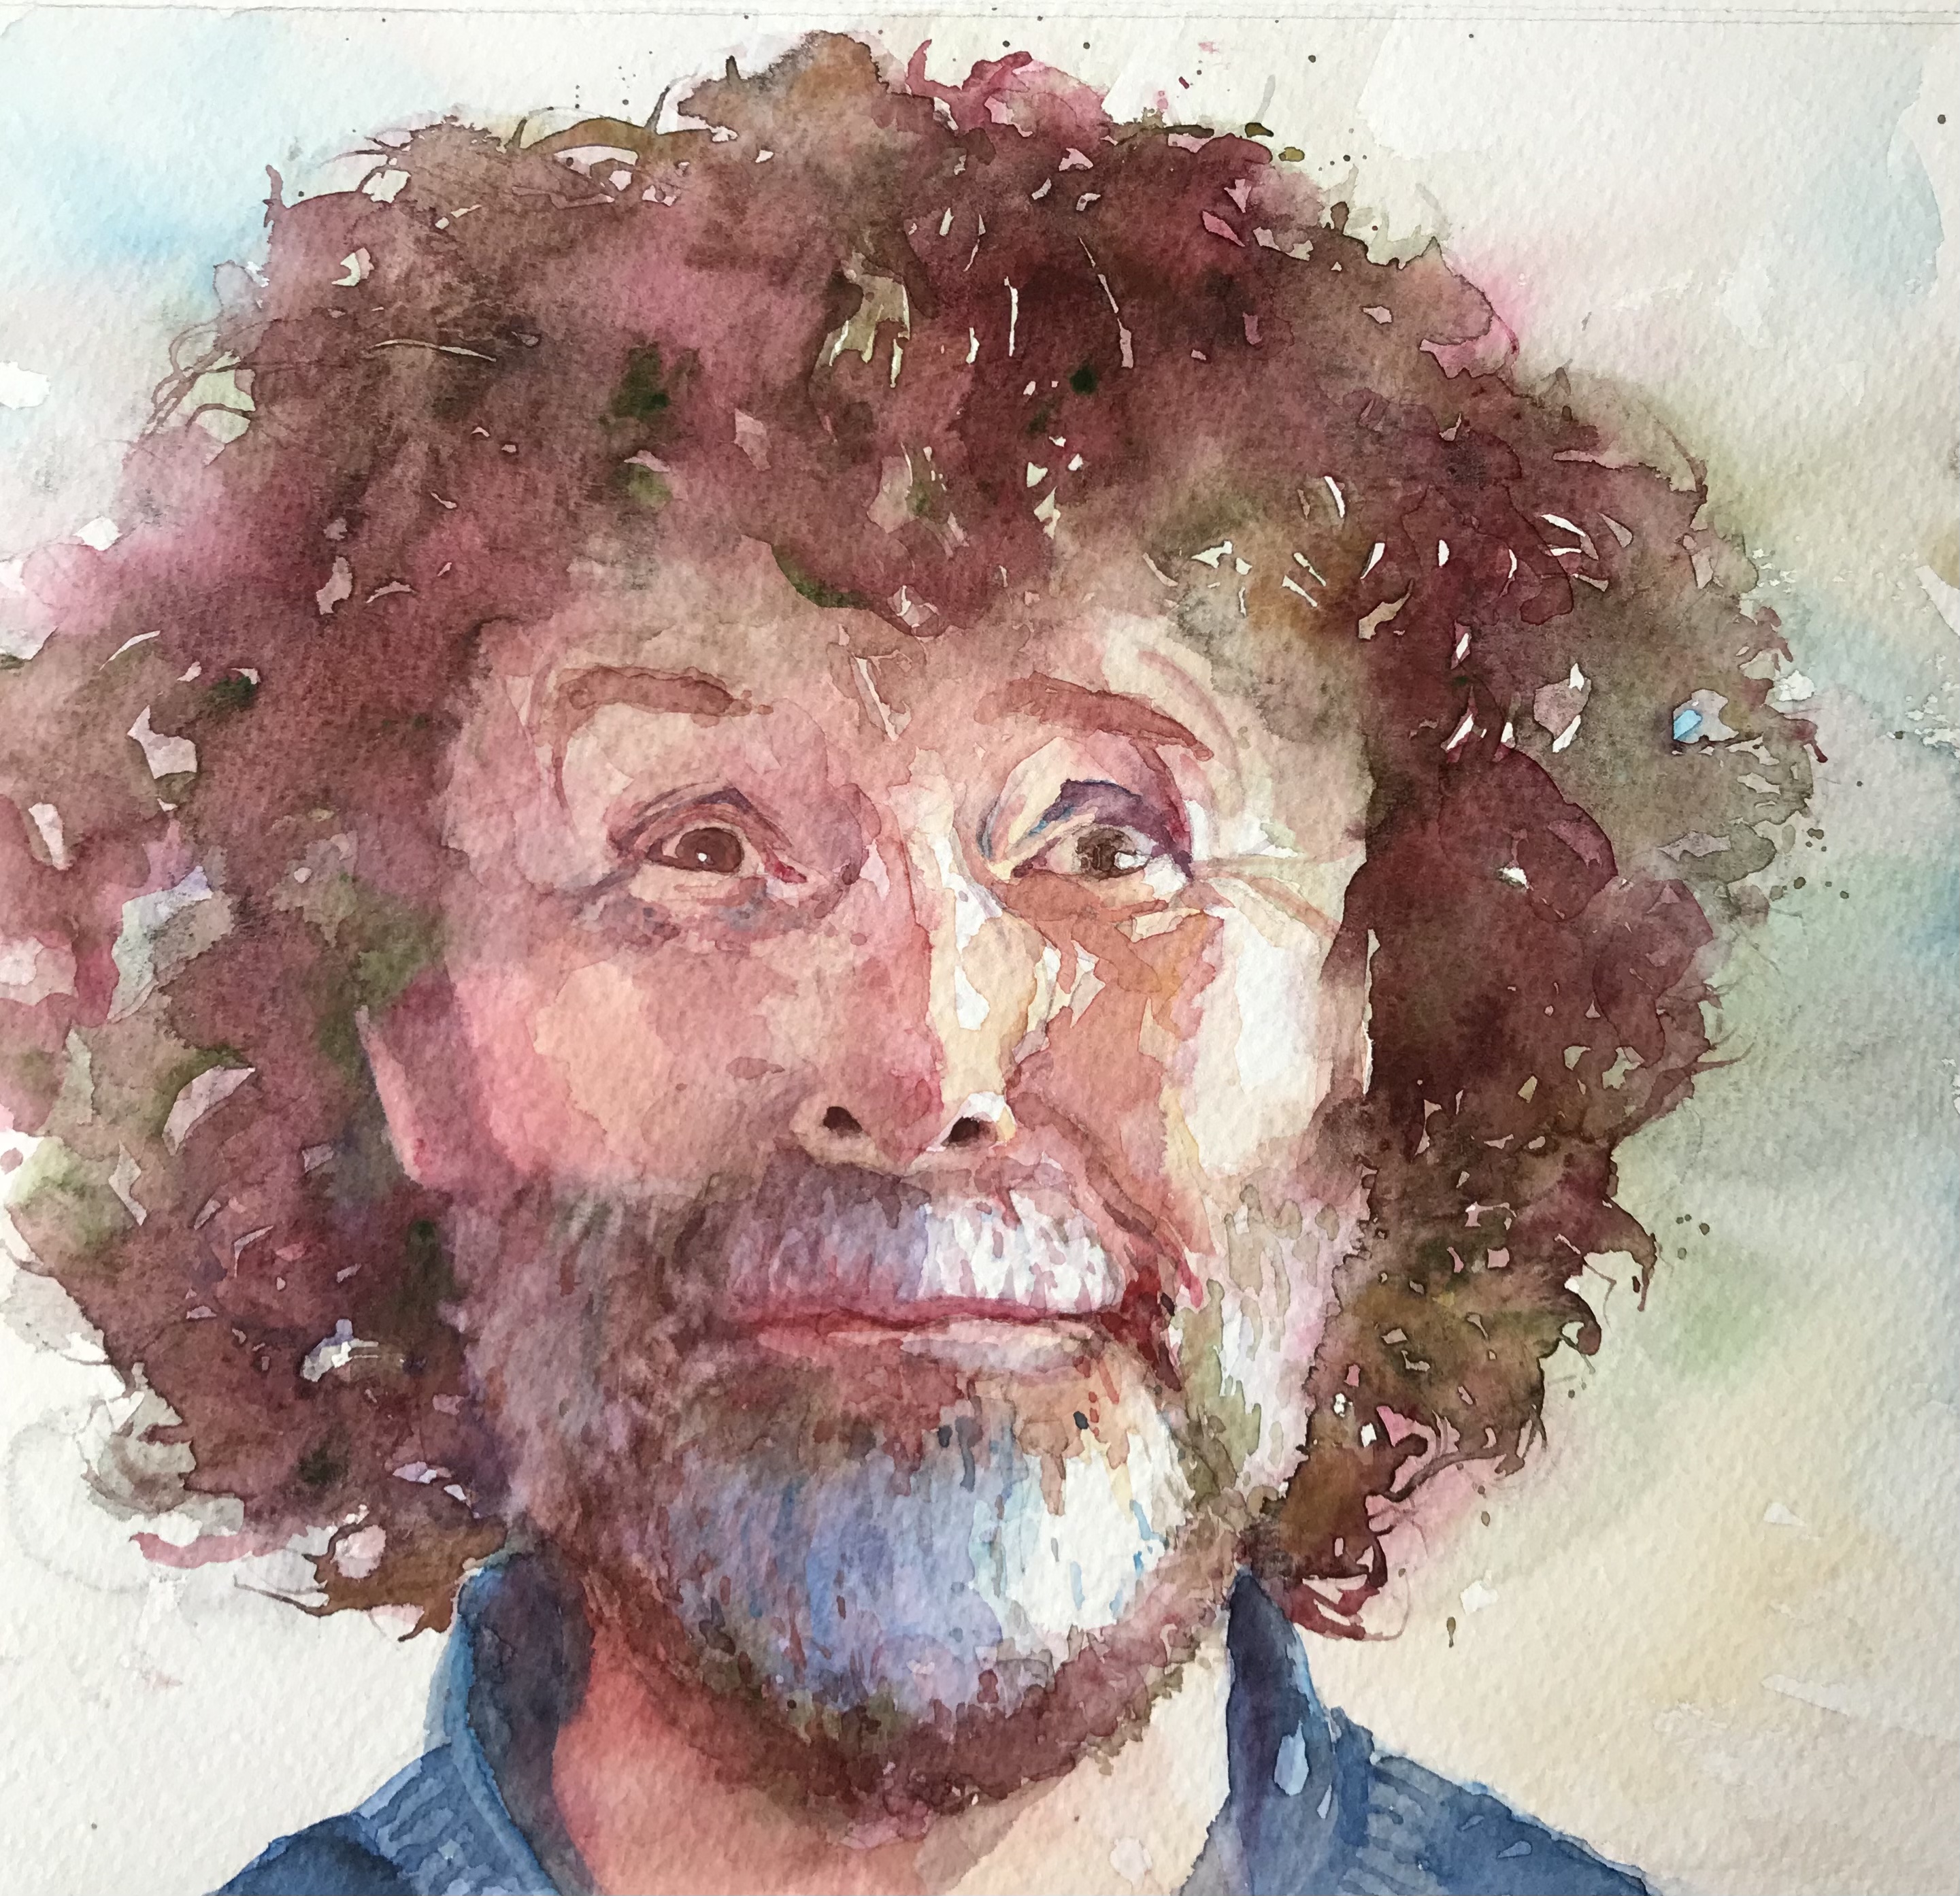
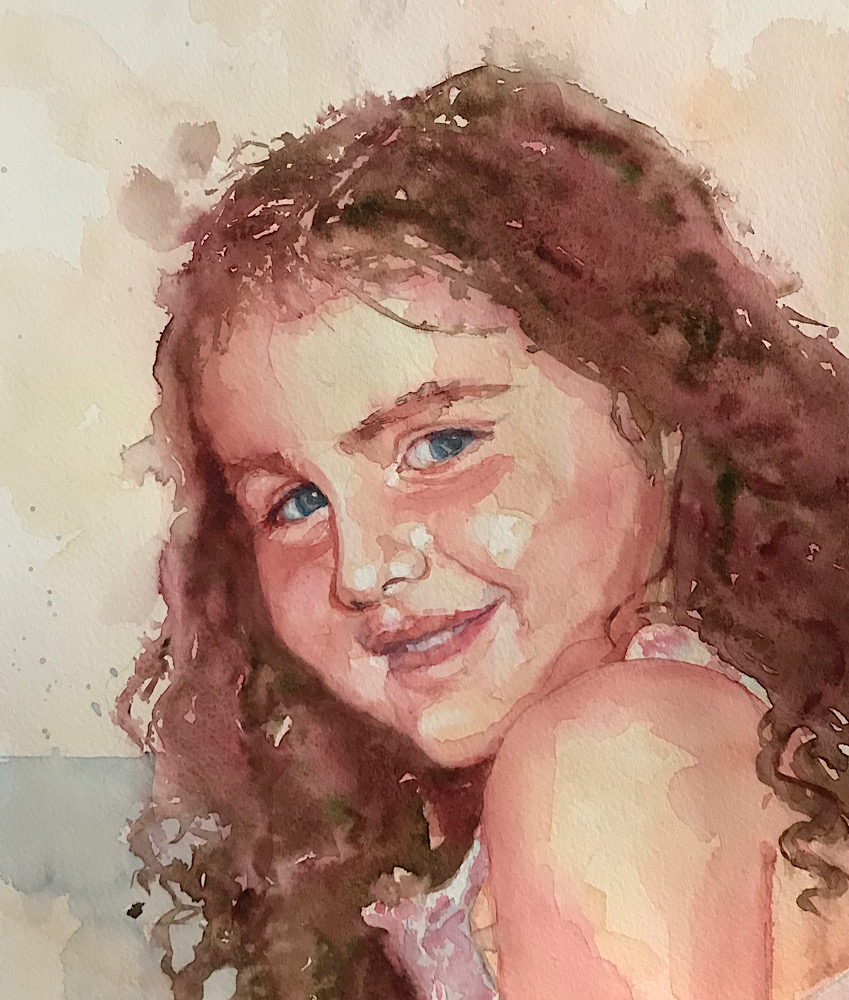
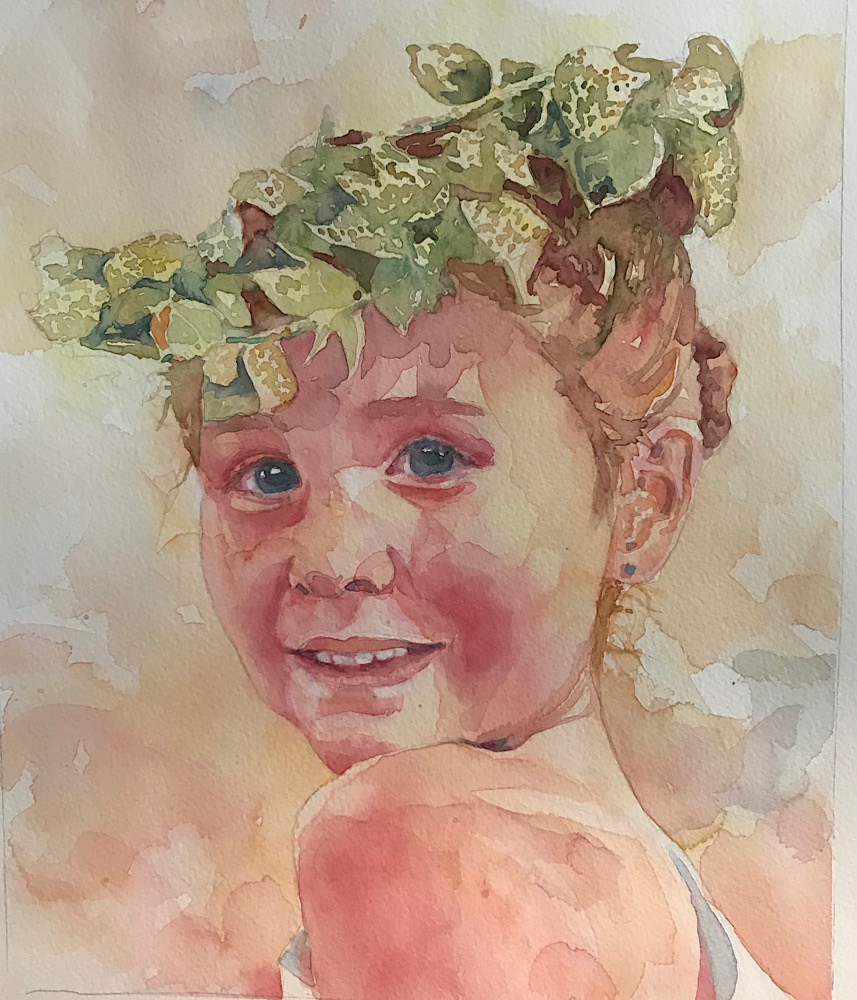
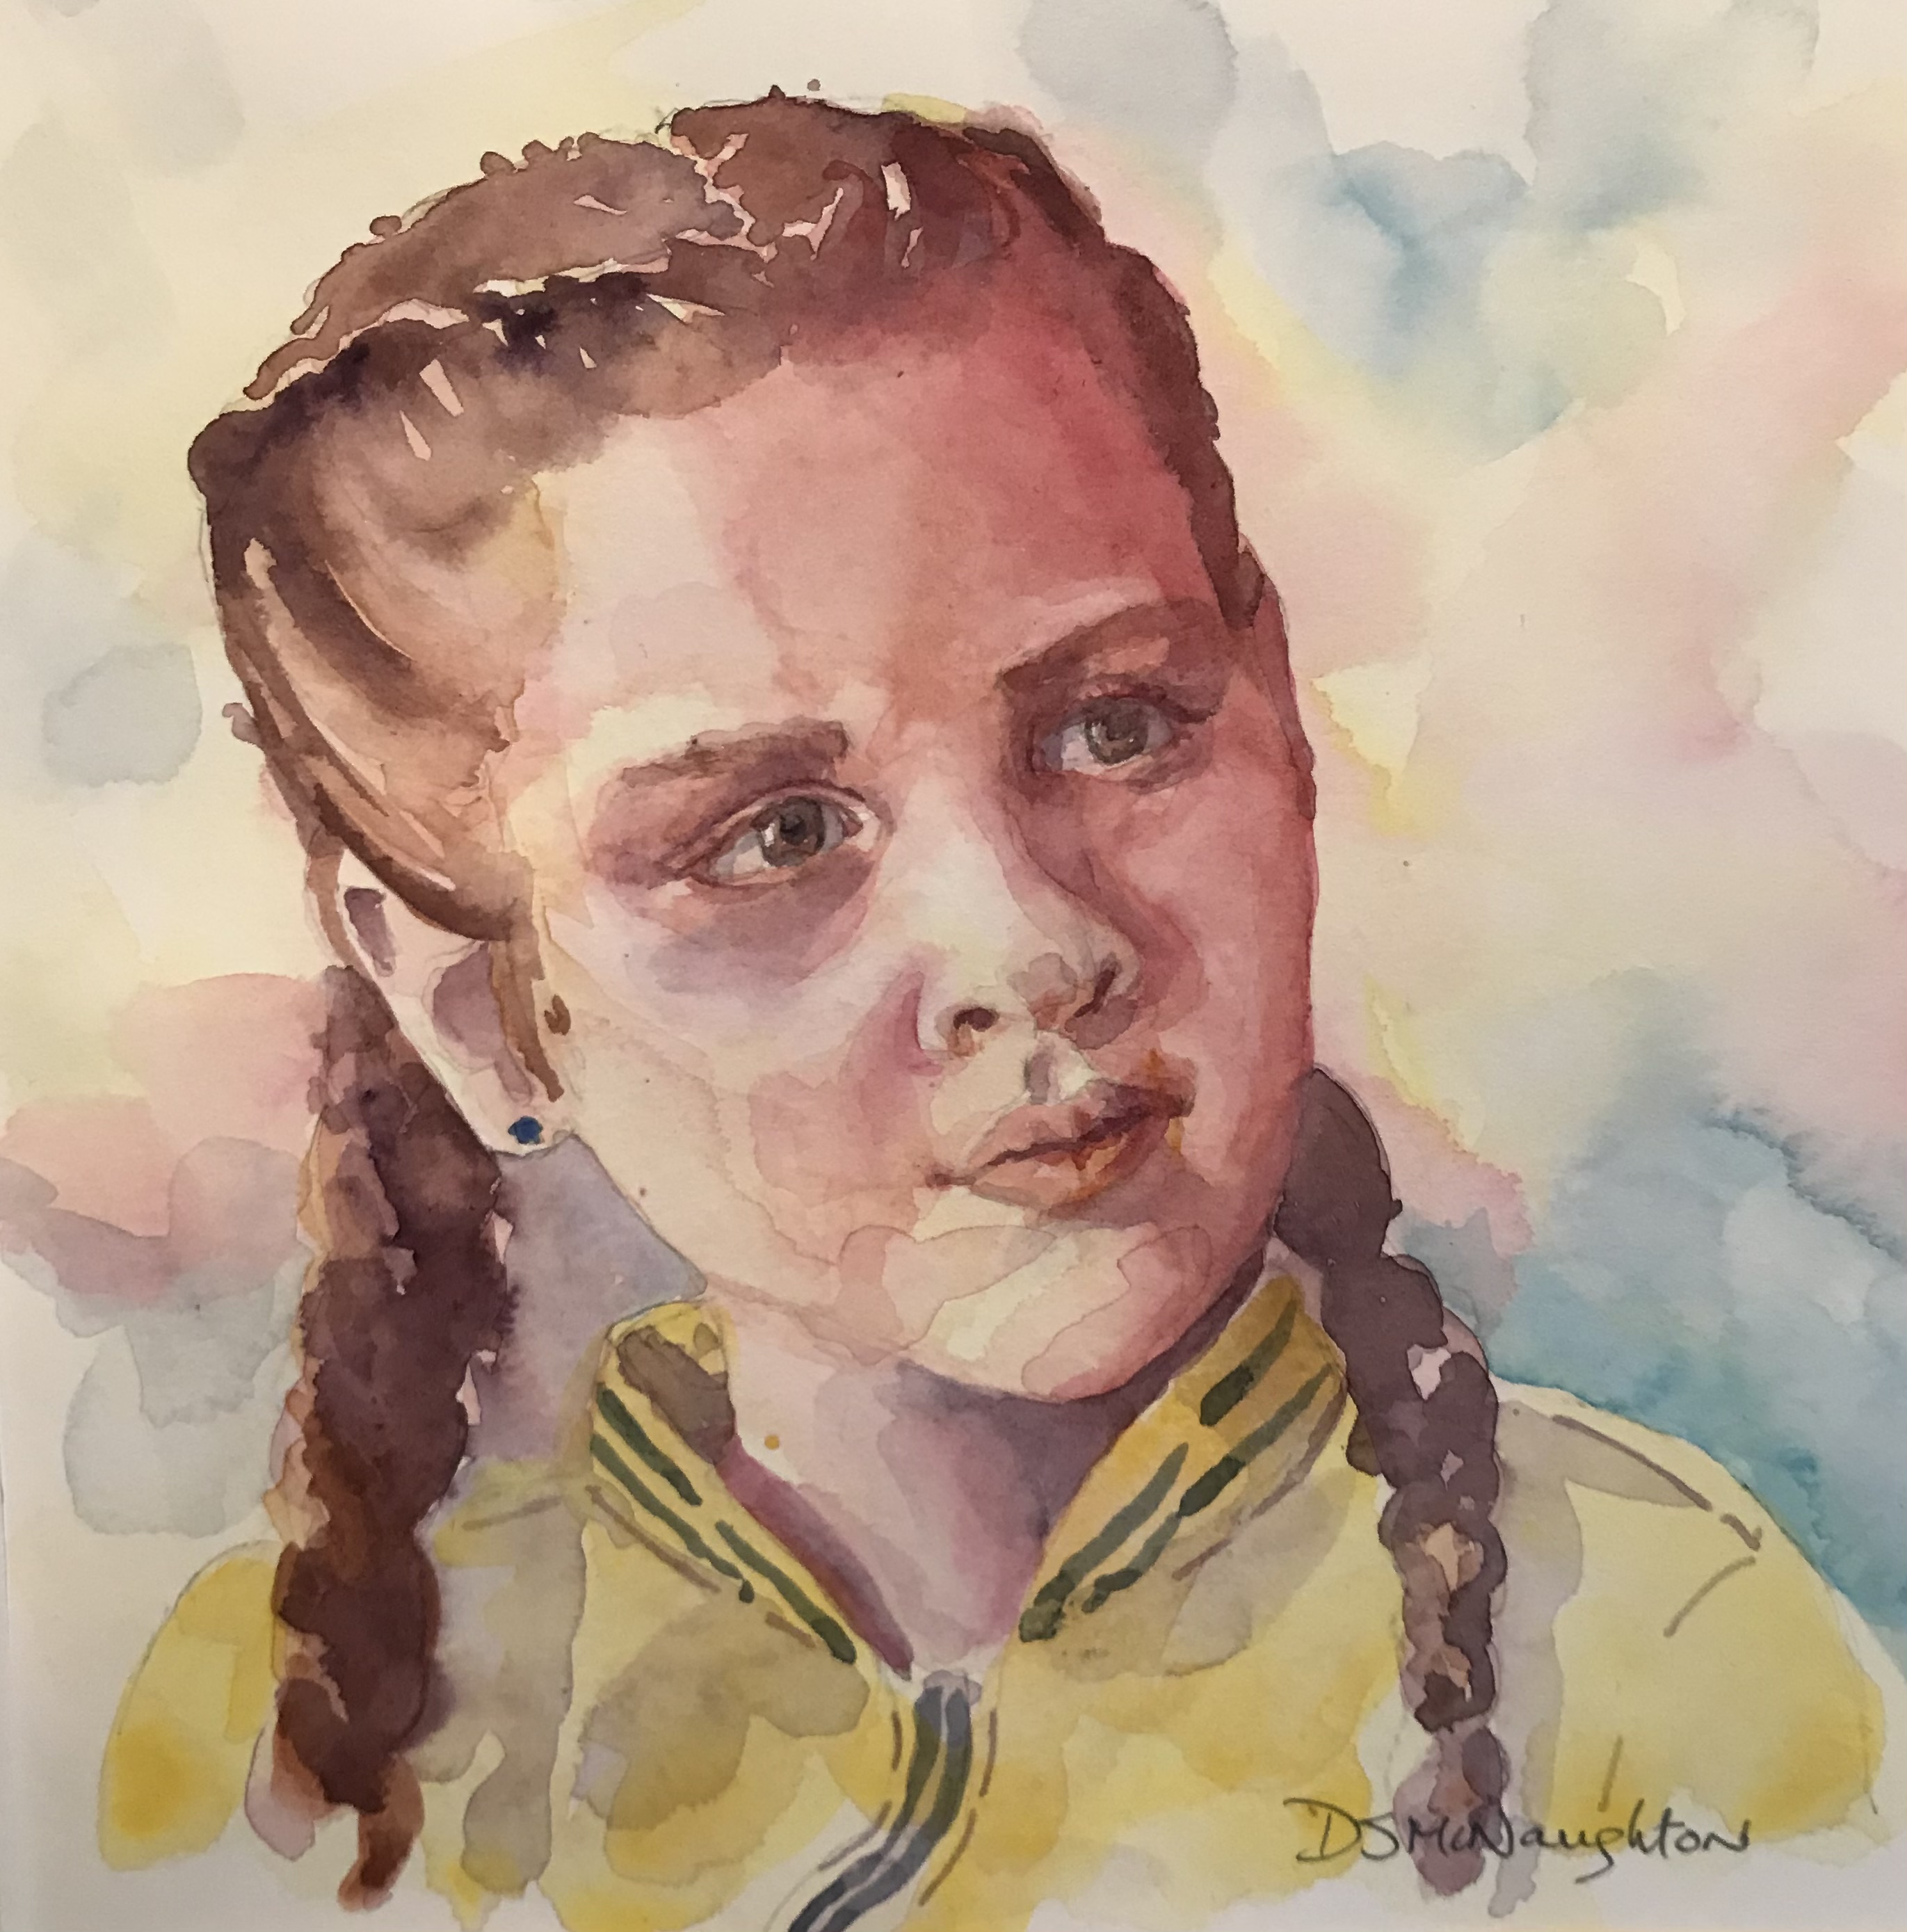
I have found that I love to paint the faces of those that I know well. I have painted my husband and granddaughters a few times recently.
Challenge 1
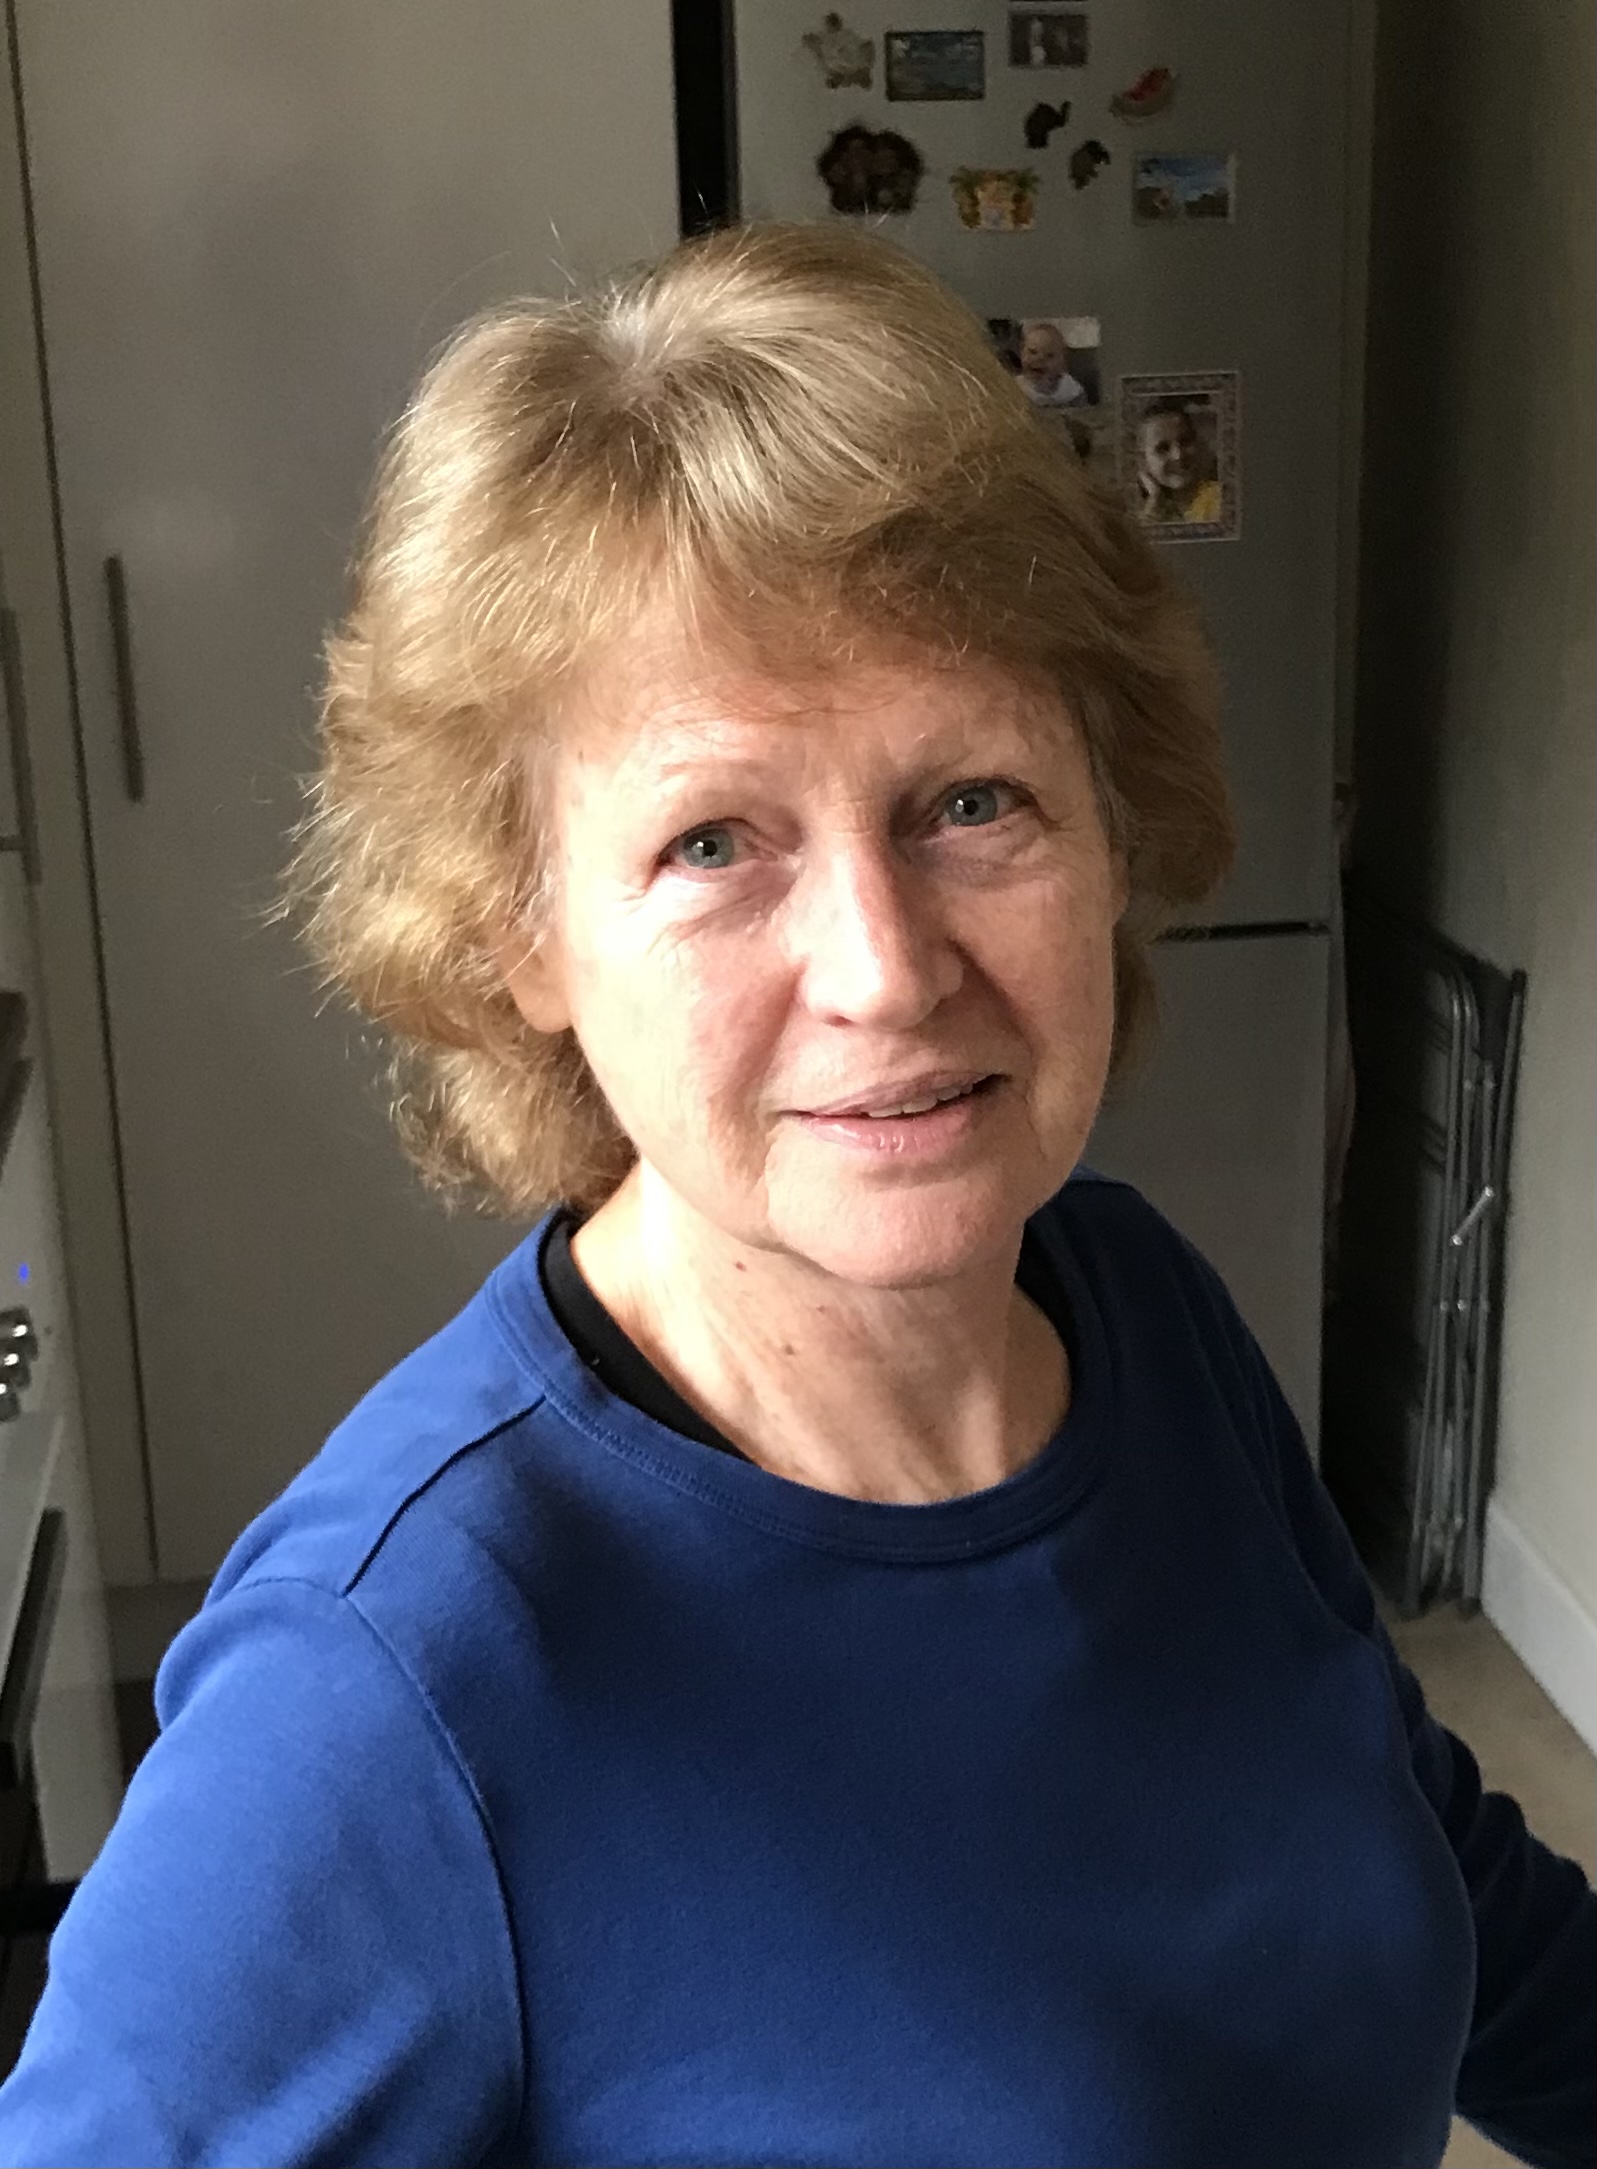
Either set up a mirror or get a few photos taken of yourself, where you have a bit of natural lighting on one side to create some contrasting tones.
I am going to break up the challenge into a few steps.
In my final layer, I use the same colours to create my details and darkest values.
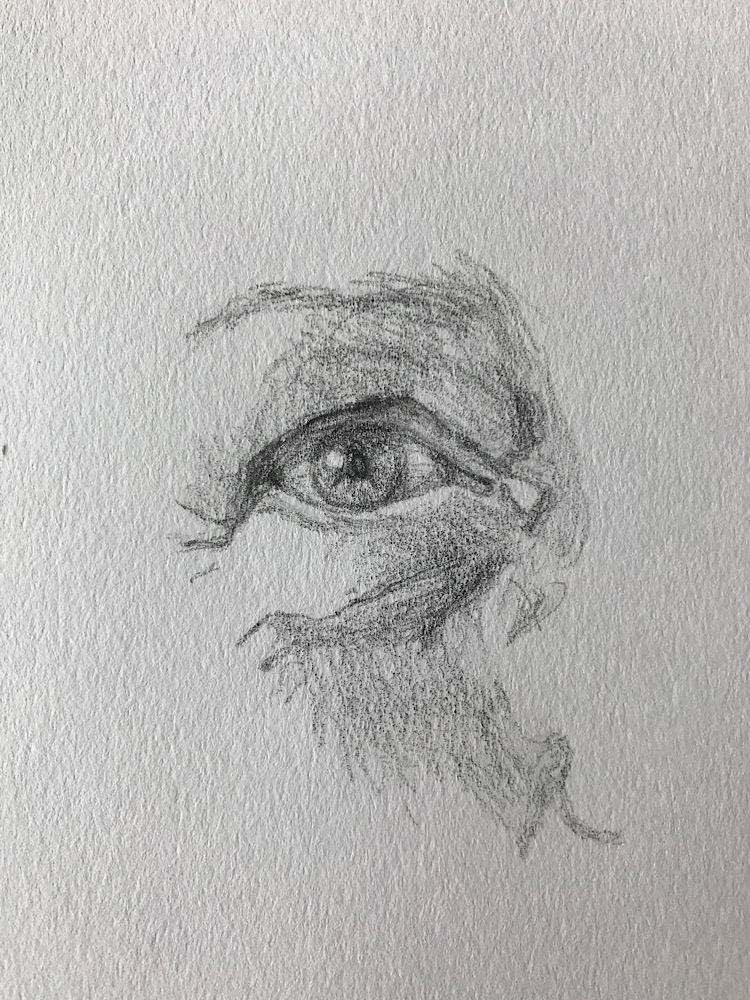
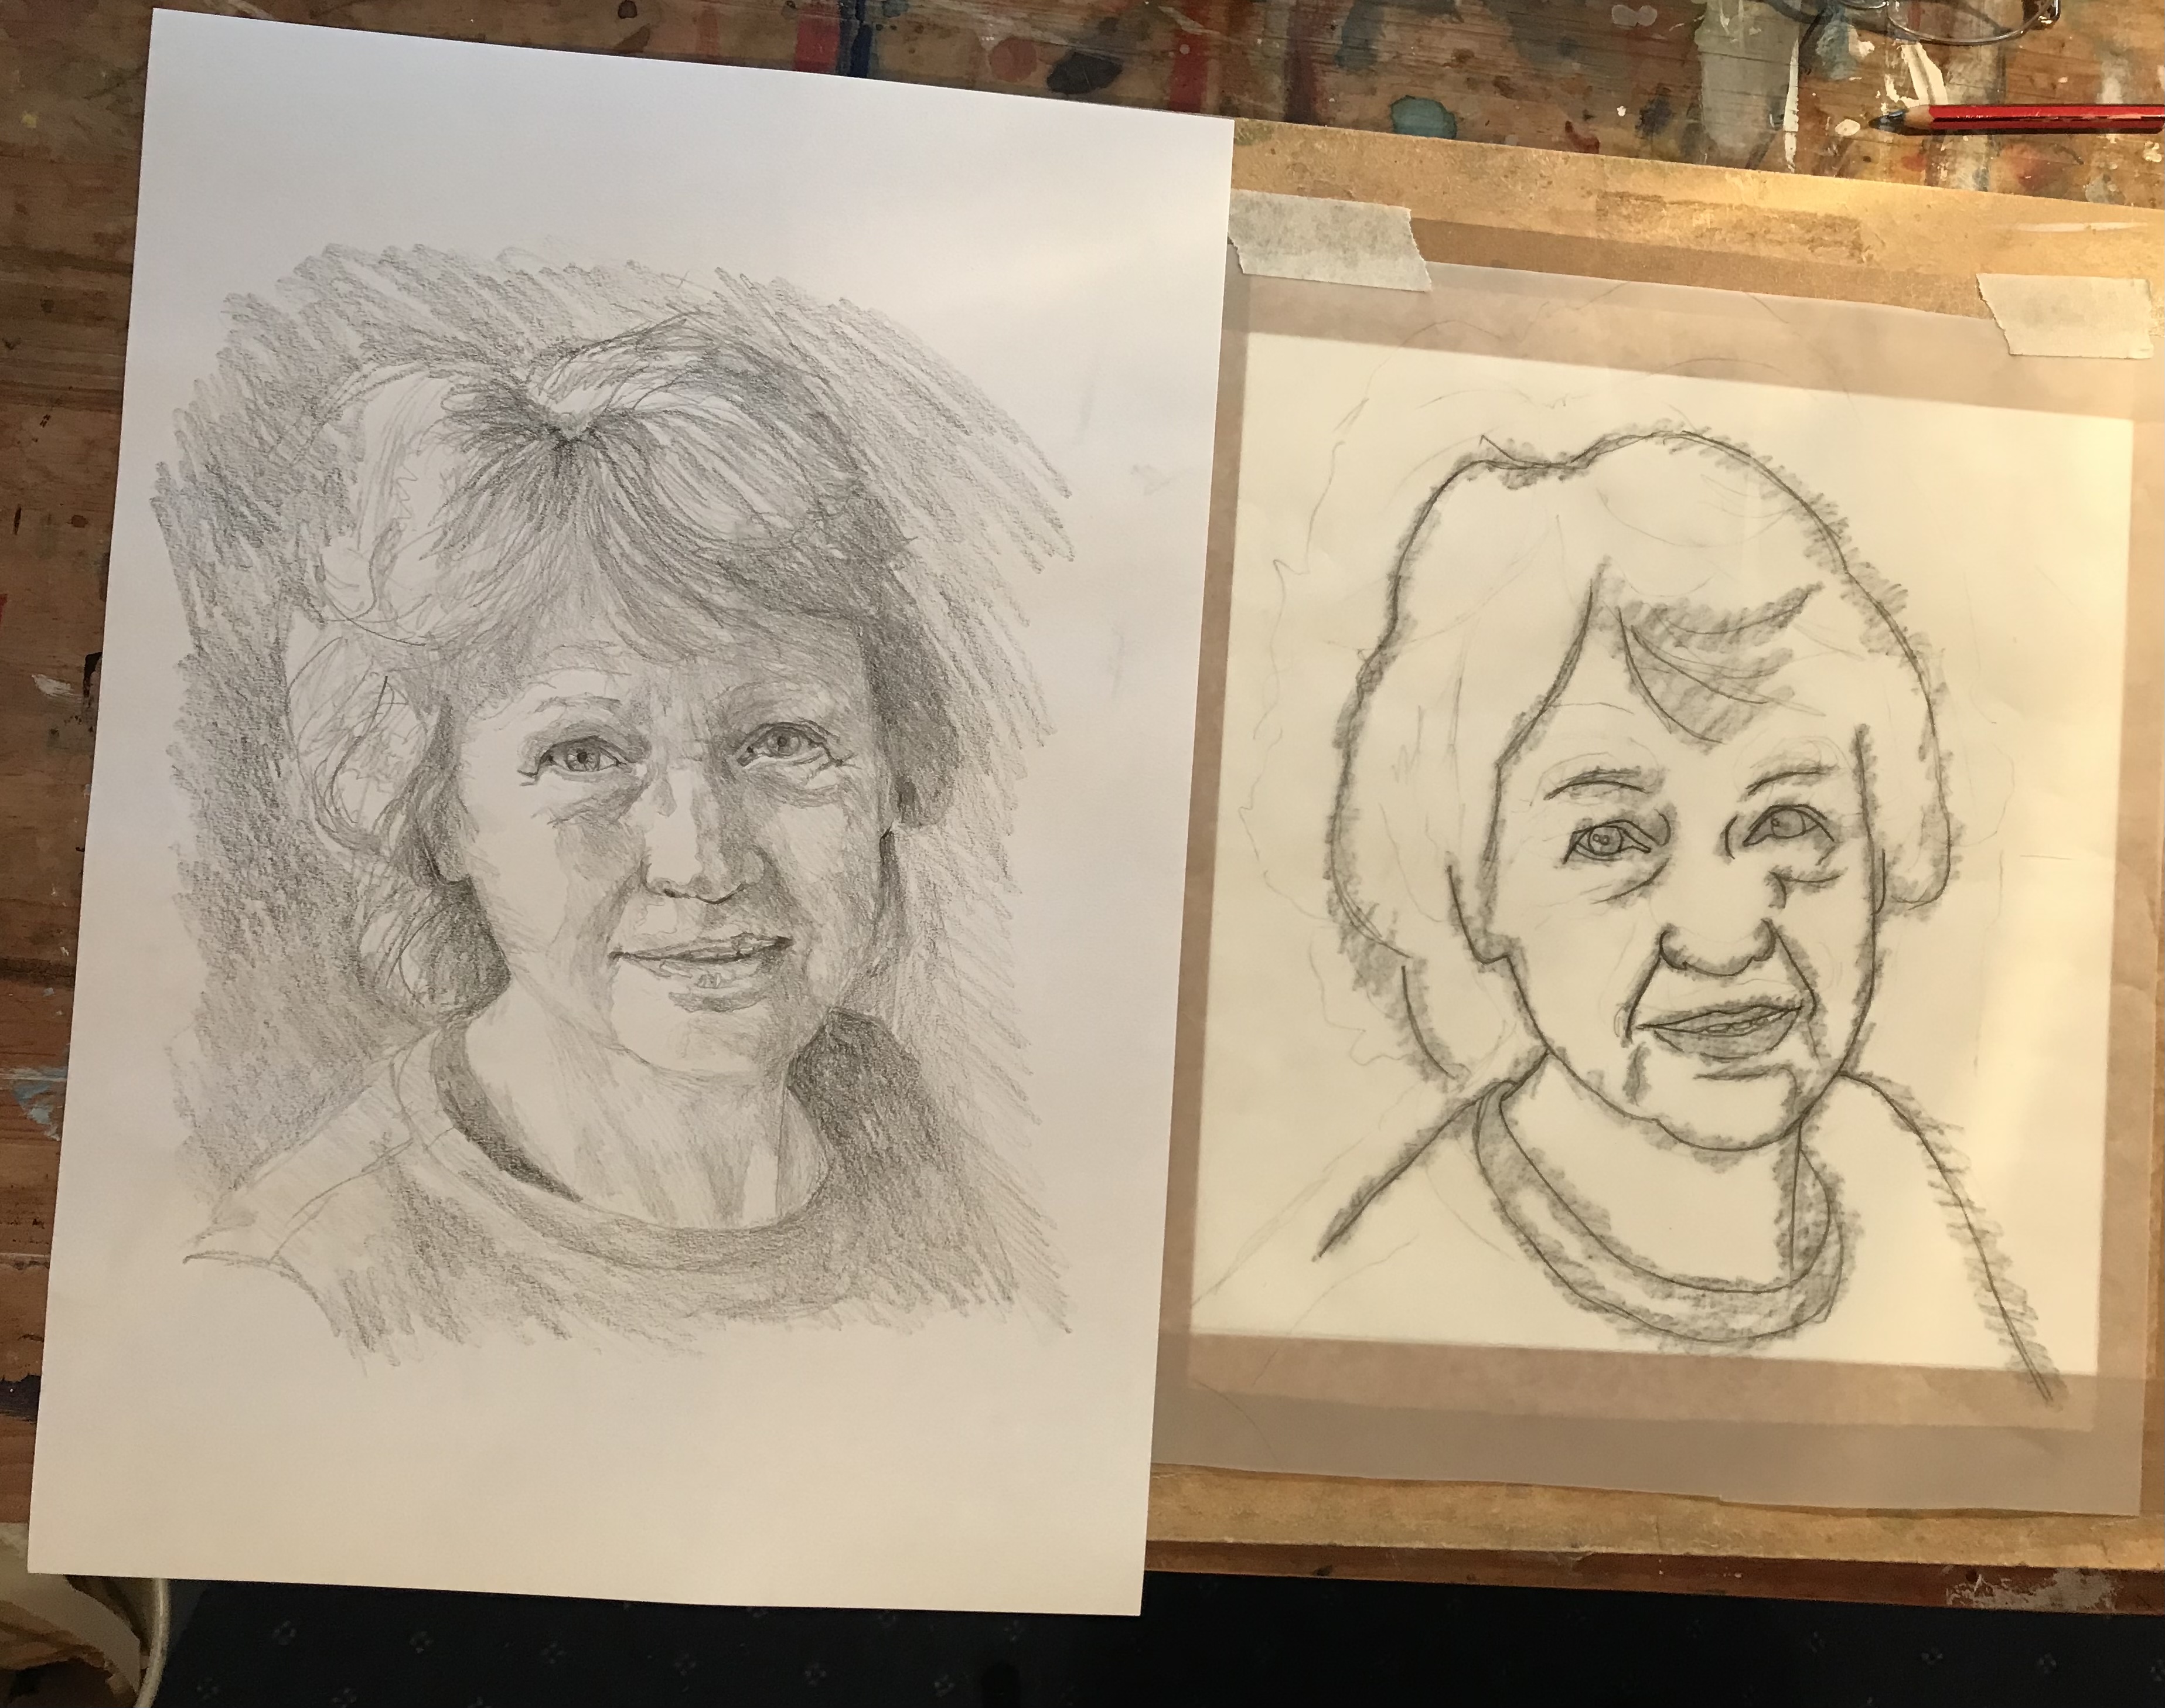
Using just a 2b pencil on cartridge paper, I concentrated on drawing one eye, in its socket, observing carefully the angles of the lines. I added the tonal values so that I had a good idea of the scale of light to dark. I traced my image and transferred it onto a piece of watercolour paper.
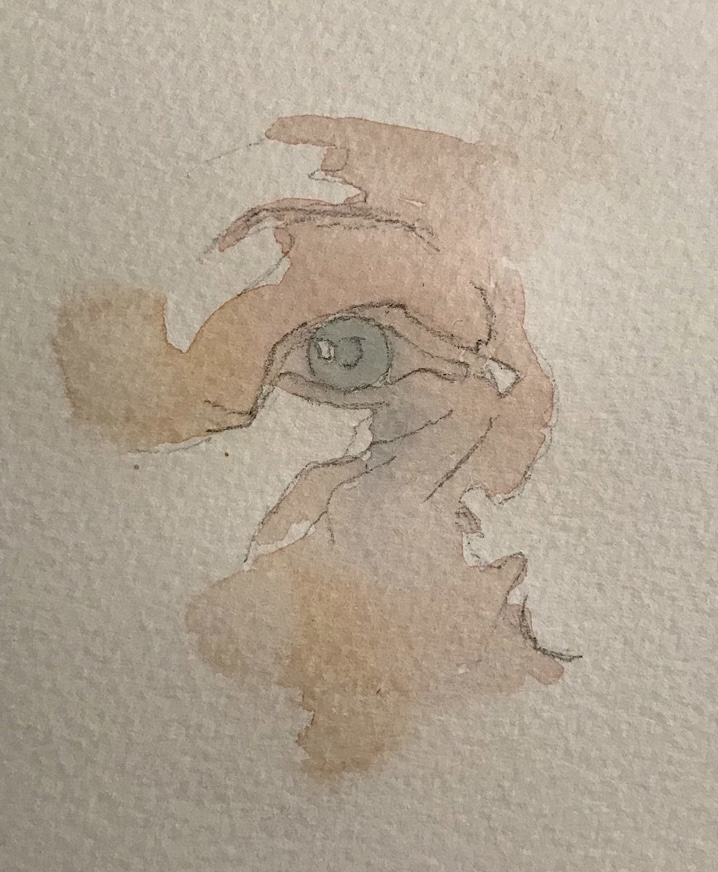
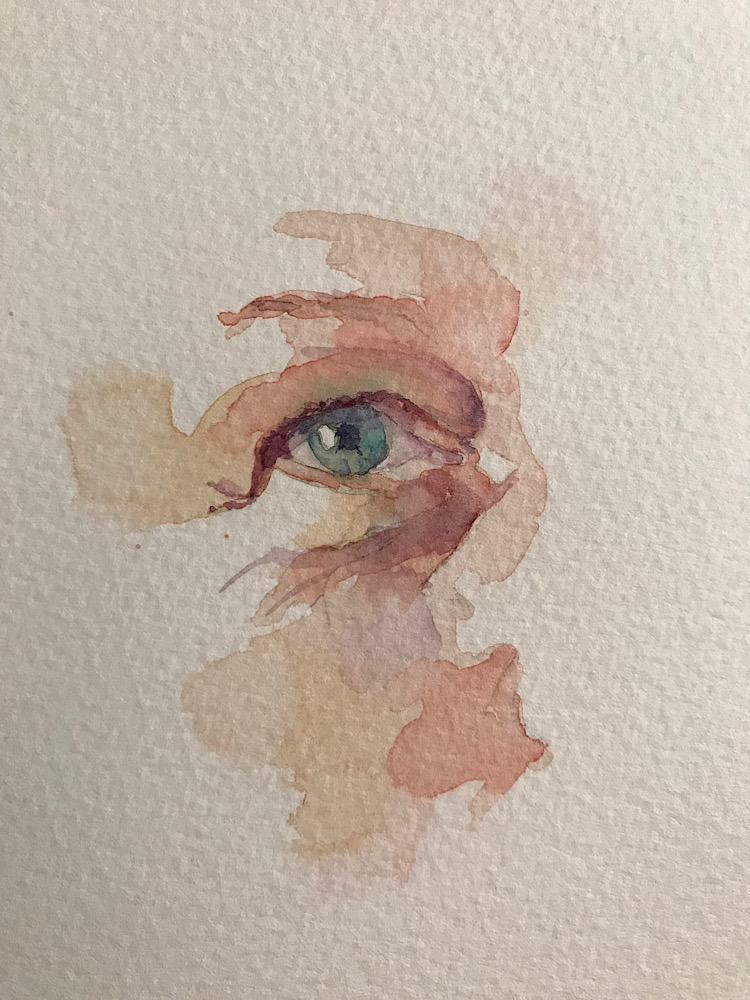
I love to paint in layers! With my first layer, I used a red/yellow/blue combination of colours, Permanent Carmine (or Alizarin Crimson), Yellow Ochre and Manganese Blue (or Cerulean Blue). Leaving the highlights in the eye, under the eye and under the brow unpainted, I connected the other layers with mostly the red and yellow and added the blue to the eye area, allowing the colours to mix on the paper. Note that the white of the eye (sclera) is not left white, if you look carefully at your reference, compare it’s value to your highlight areas and you will see the sclera is definitely a few tones darker.
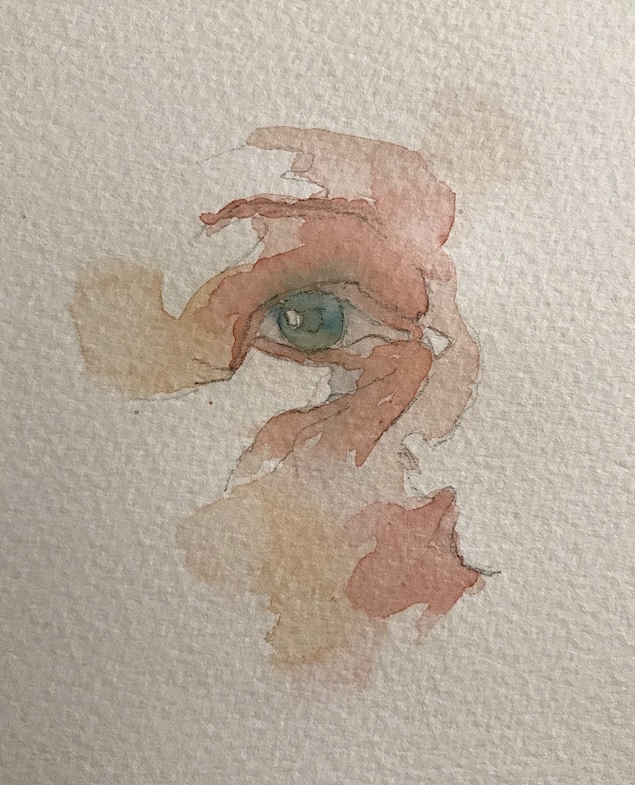
For the second layer, I am going to bring in a touch of another blue, French Ultramarine. Adding a tiny bit of this blue to my red creates a good skin shadow colour. In this layer I establish the shadow areas. I soften some of the edges of my brushstrokes to break up some of the crisp outlines that might look a bit disturbing. Have a look at your reference to see where the hard and soft edges of the shadows occur.
Challenge 2
Create a tonal drawing of yourself, using your mirror or photo. Have in mind what size painting you want to do and draw your image to that size. Once your drawing is correct, you can trace the outline of your facial features and transfer the image onto your watercolour paper. I might want to experiment with my colours and so do a few paintings of the same image.. Having the tracing helps for a quick drawing.
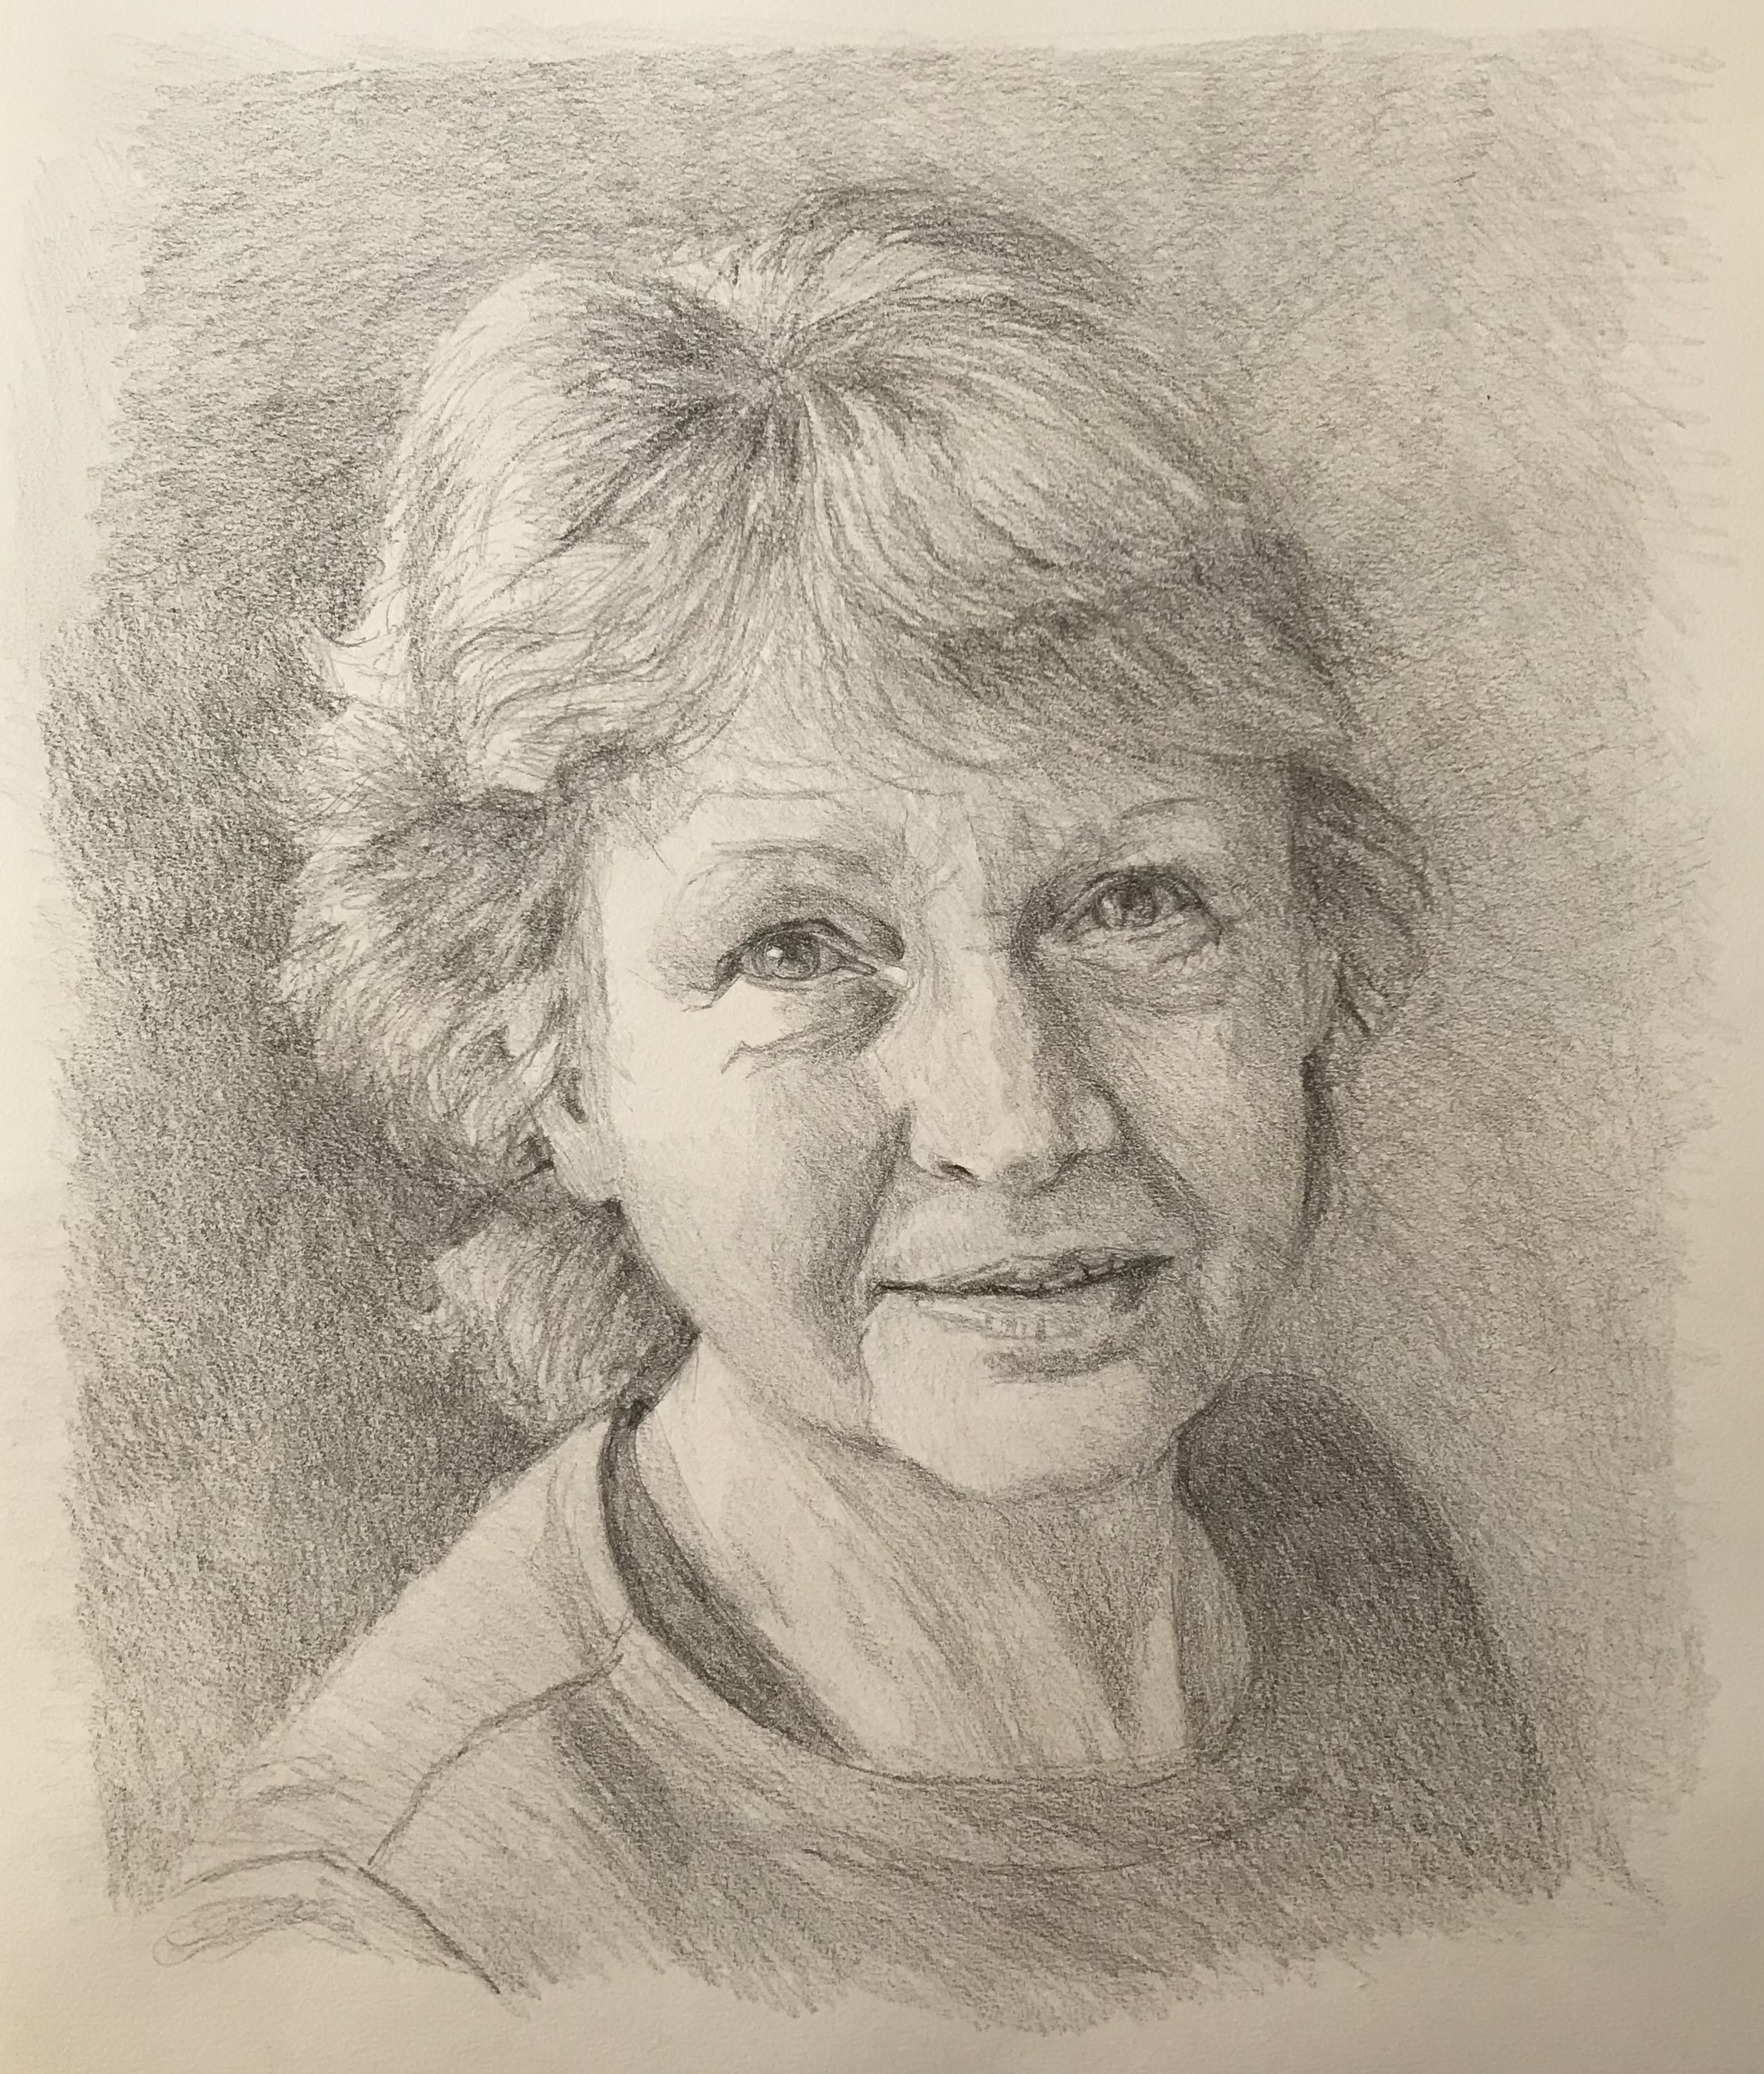
My drawing paper measured 33 x 29cm. There are many different systems of getting a likeness, most recently I have found a method that really suits me. I start the drawing, working on one of the eyes and work out from there. For me, drawing is about relationships of various lines and it is easier for me to compare and relate smaller, closer lines than to start with the big picture and work towards the details. I also work tonally as I go from one feature to the next.
Challenge 3
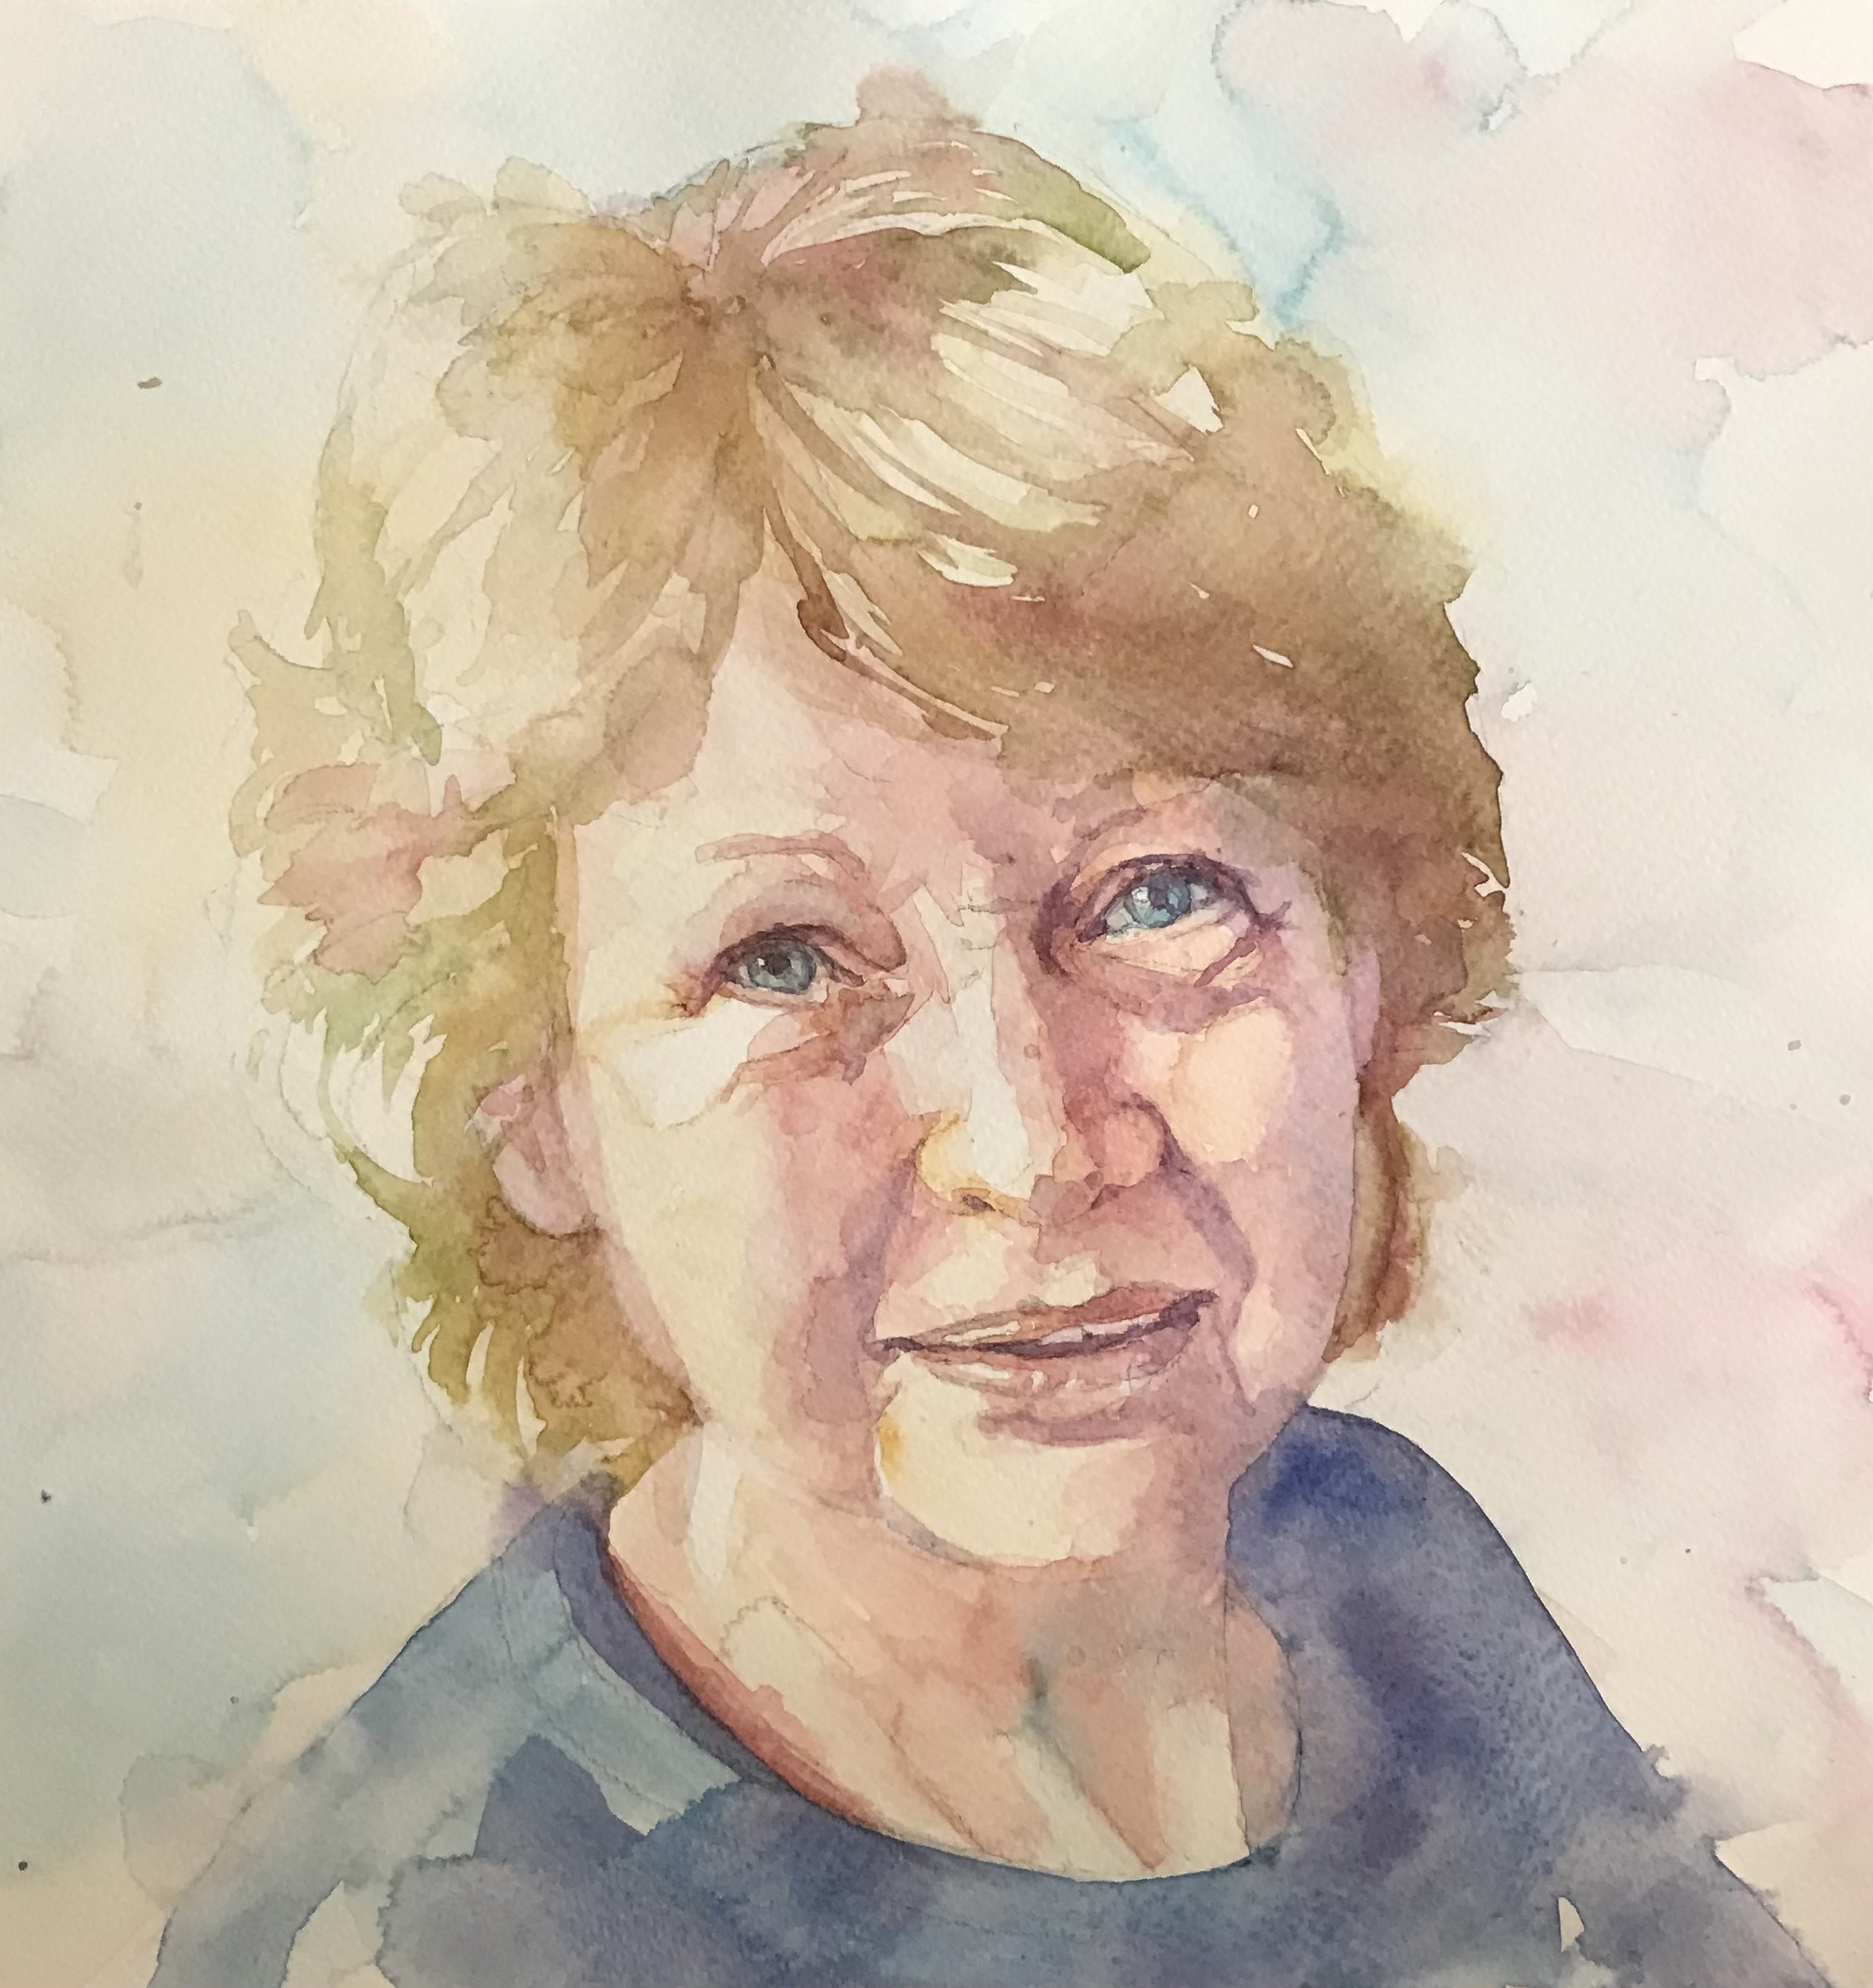
The final challenge is to create a watercolour portrait of yourself.
I used my tracing to transfer the outline image onto my watercolour paper.
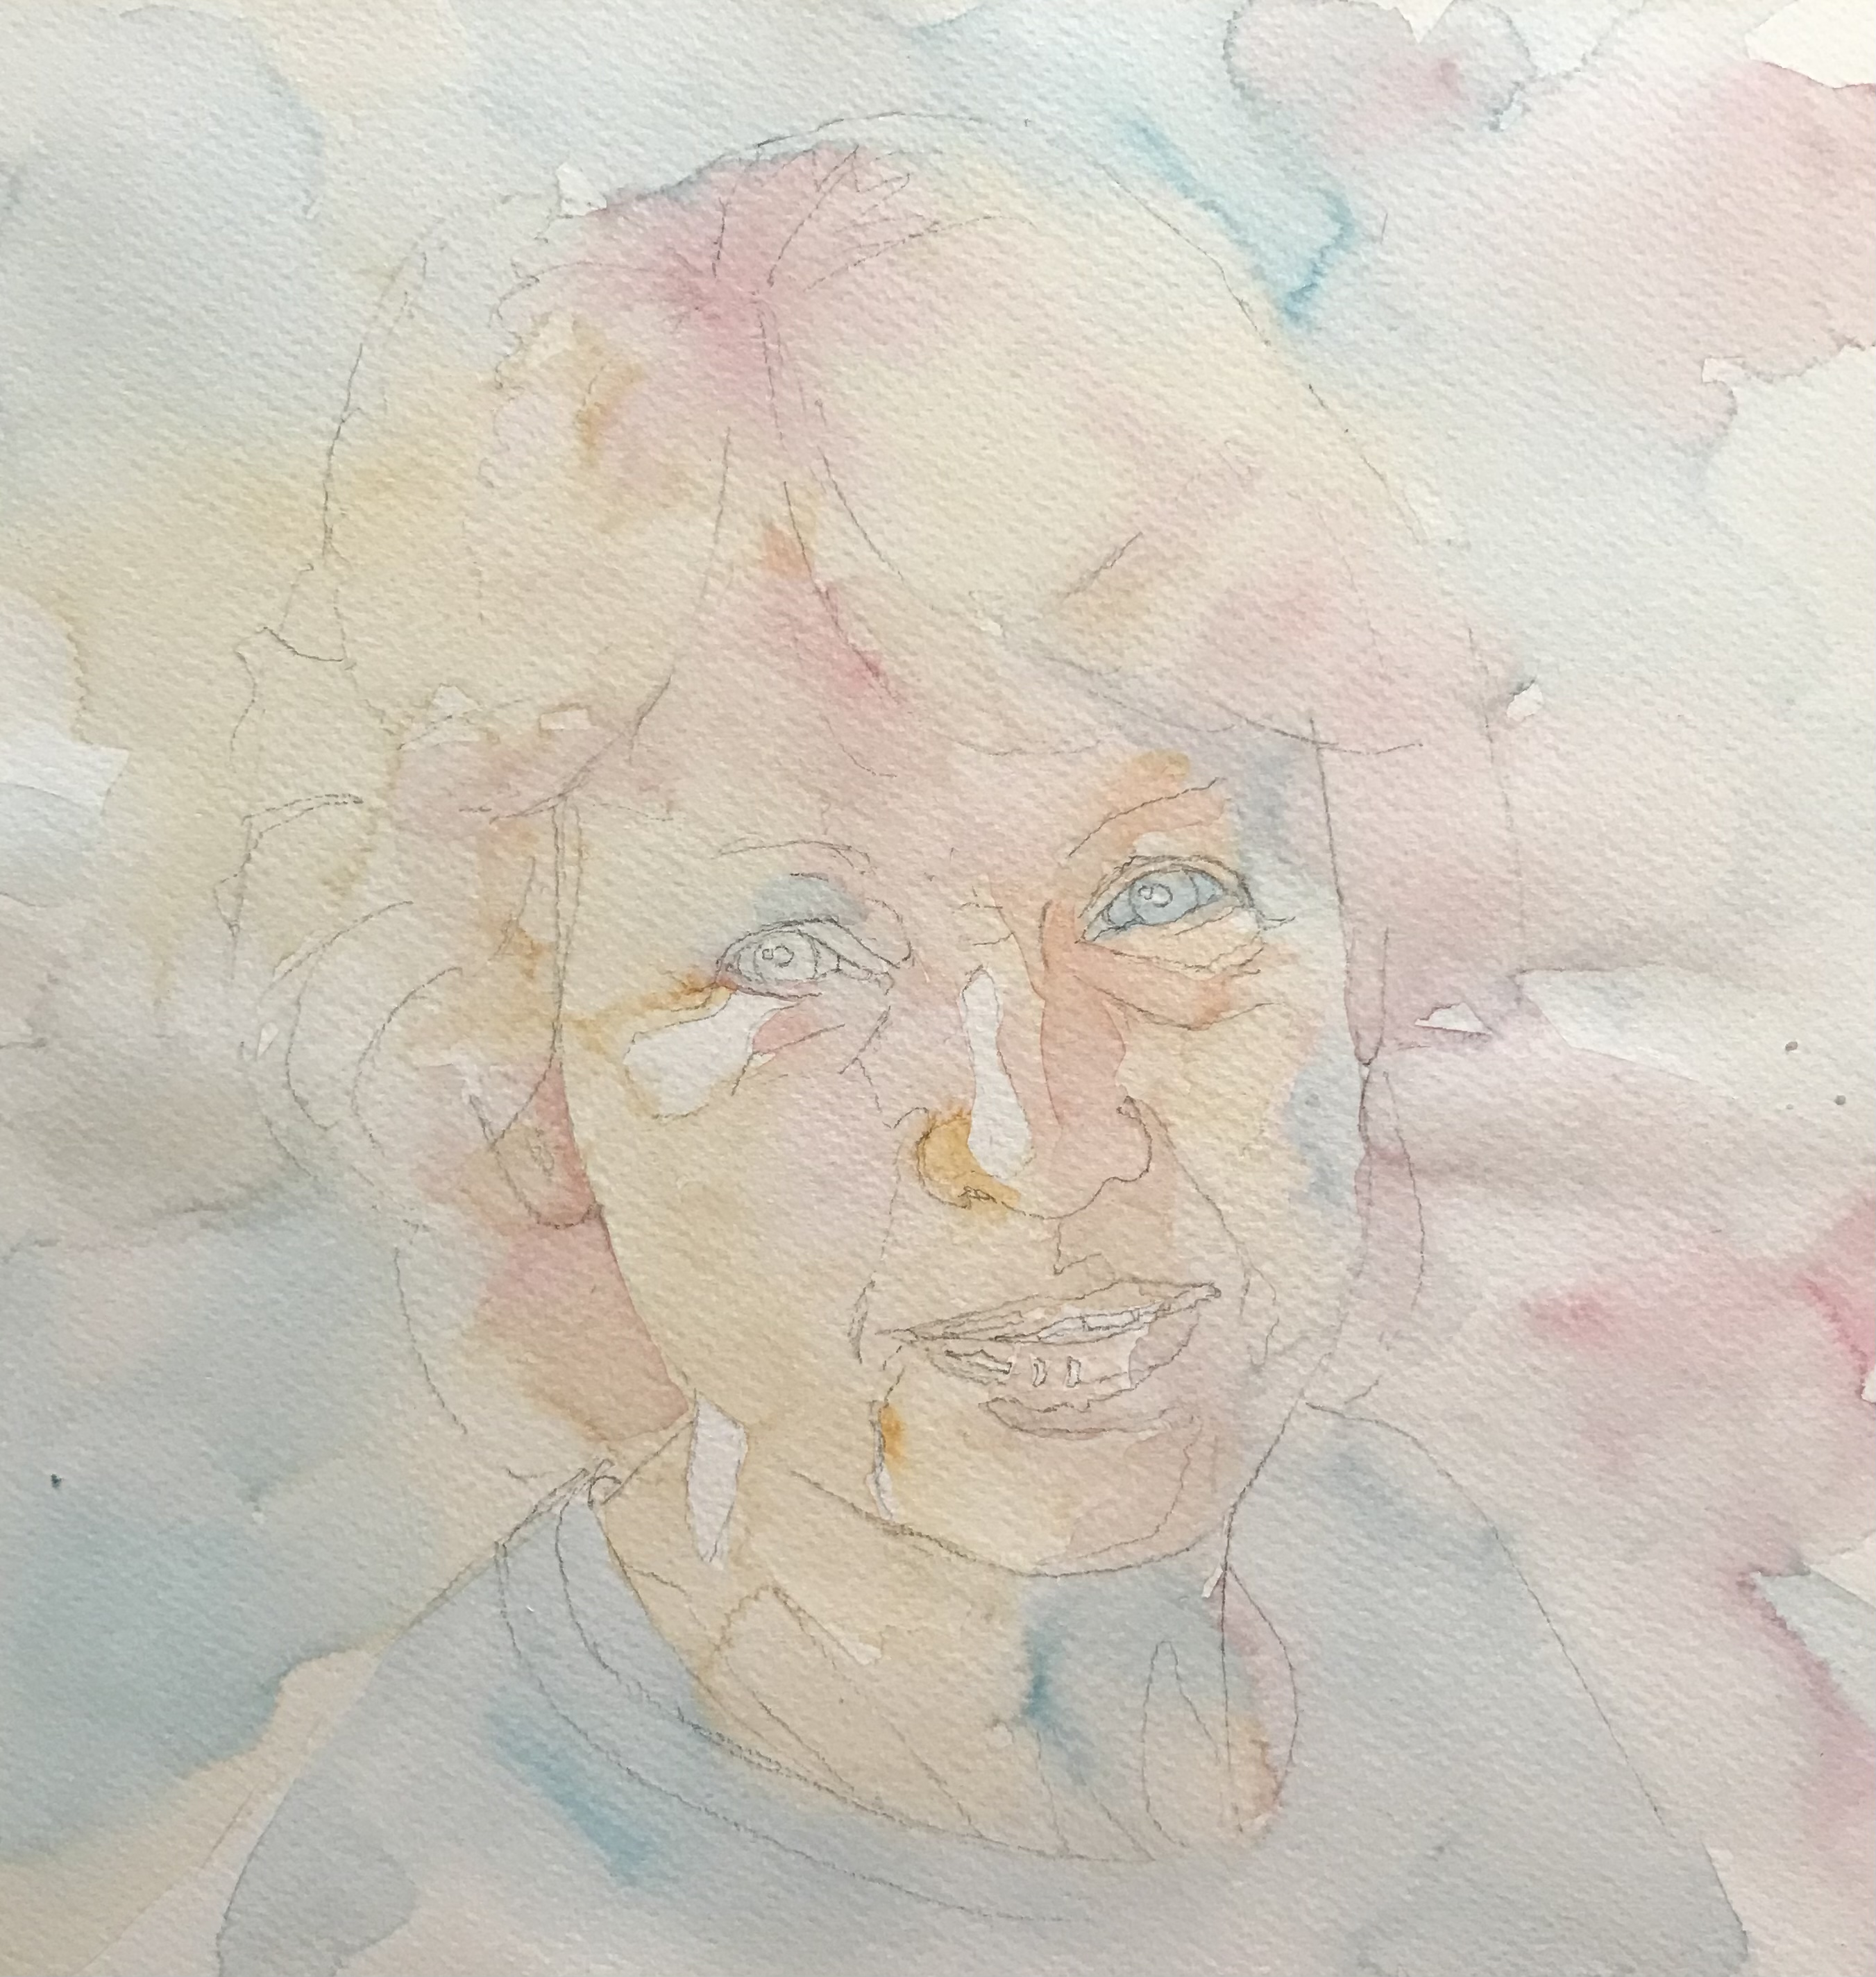
I added a few more pencil guidelines to identify my lightest areas. I used the red/yellow/blue combination as in the first challenge, Yellow Ochre, Permanent Carmine (or Alizarin Crimson) and Manganese Blue (or Cerulean Blue) for my first layer. On dry paper, I started on the face, painting around my highlights, using my three colours, allowing them to mix on the paper rather than the palette. I work out from the face, onto the hair and into the background creating variegated wash, trying to avoid a flat look. Once the layer has dried, I see I have a few cauliflowers which the purists will dislike! I like the texture that they create.
I am now going to add French Ultramarine to my palette while painting my third layer. I need to establish my blue T-shirt with a darker wash on the right using the French Ultramarine.
I want to deepen the shadow area on the face and neck, using my red with a touch of French Ultramarine. I use the same mix to add some small dark areas to the eyes, nose and mouth.
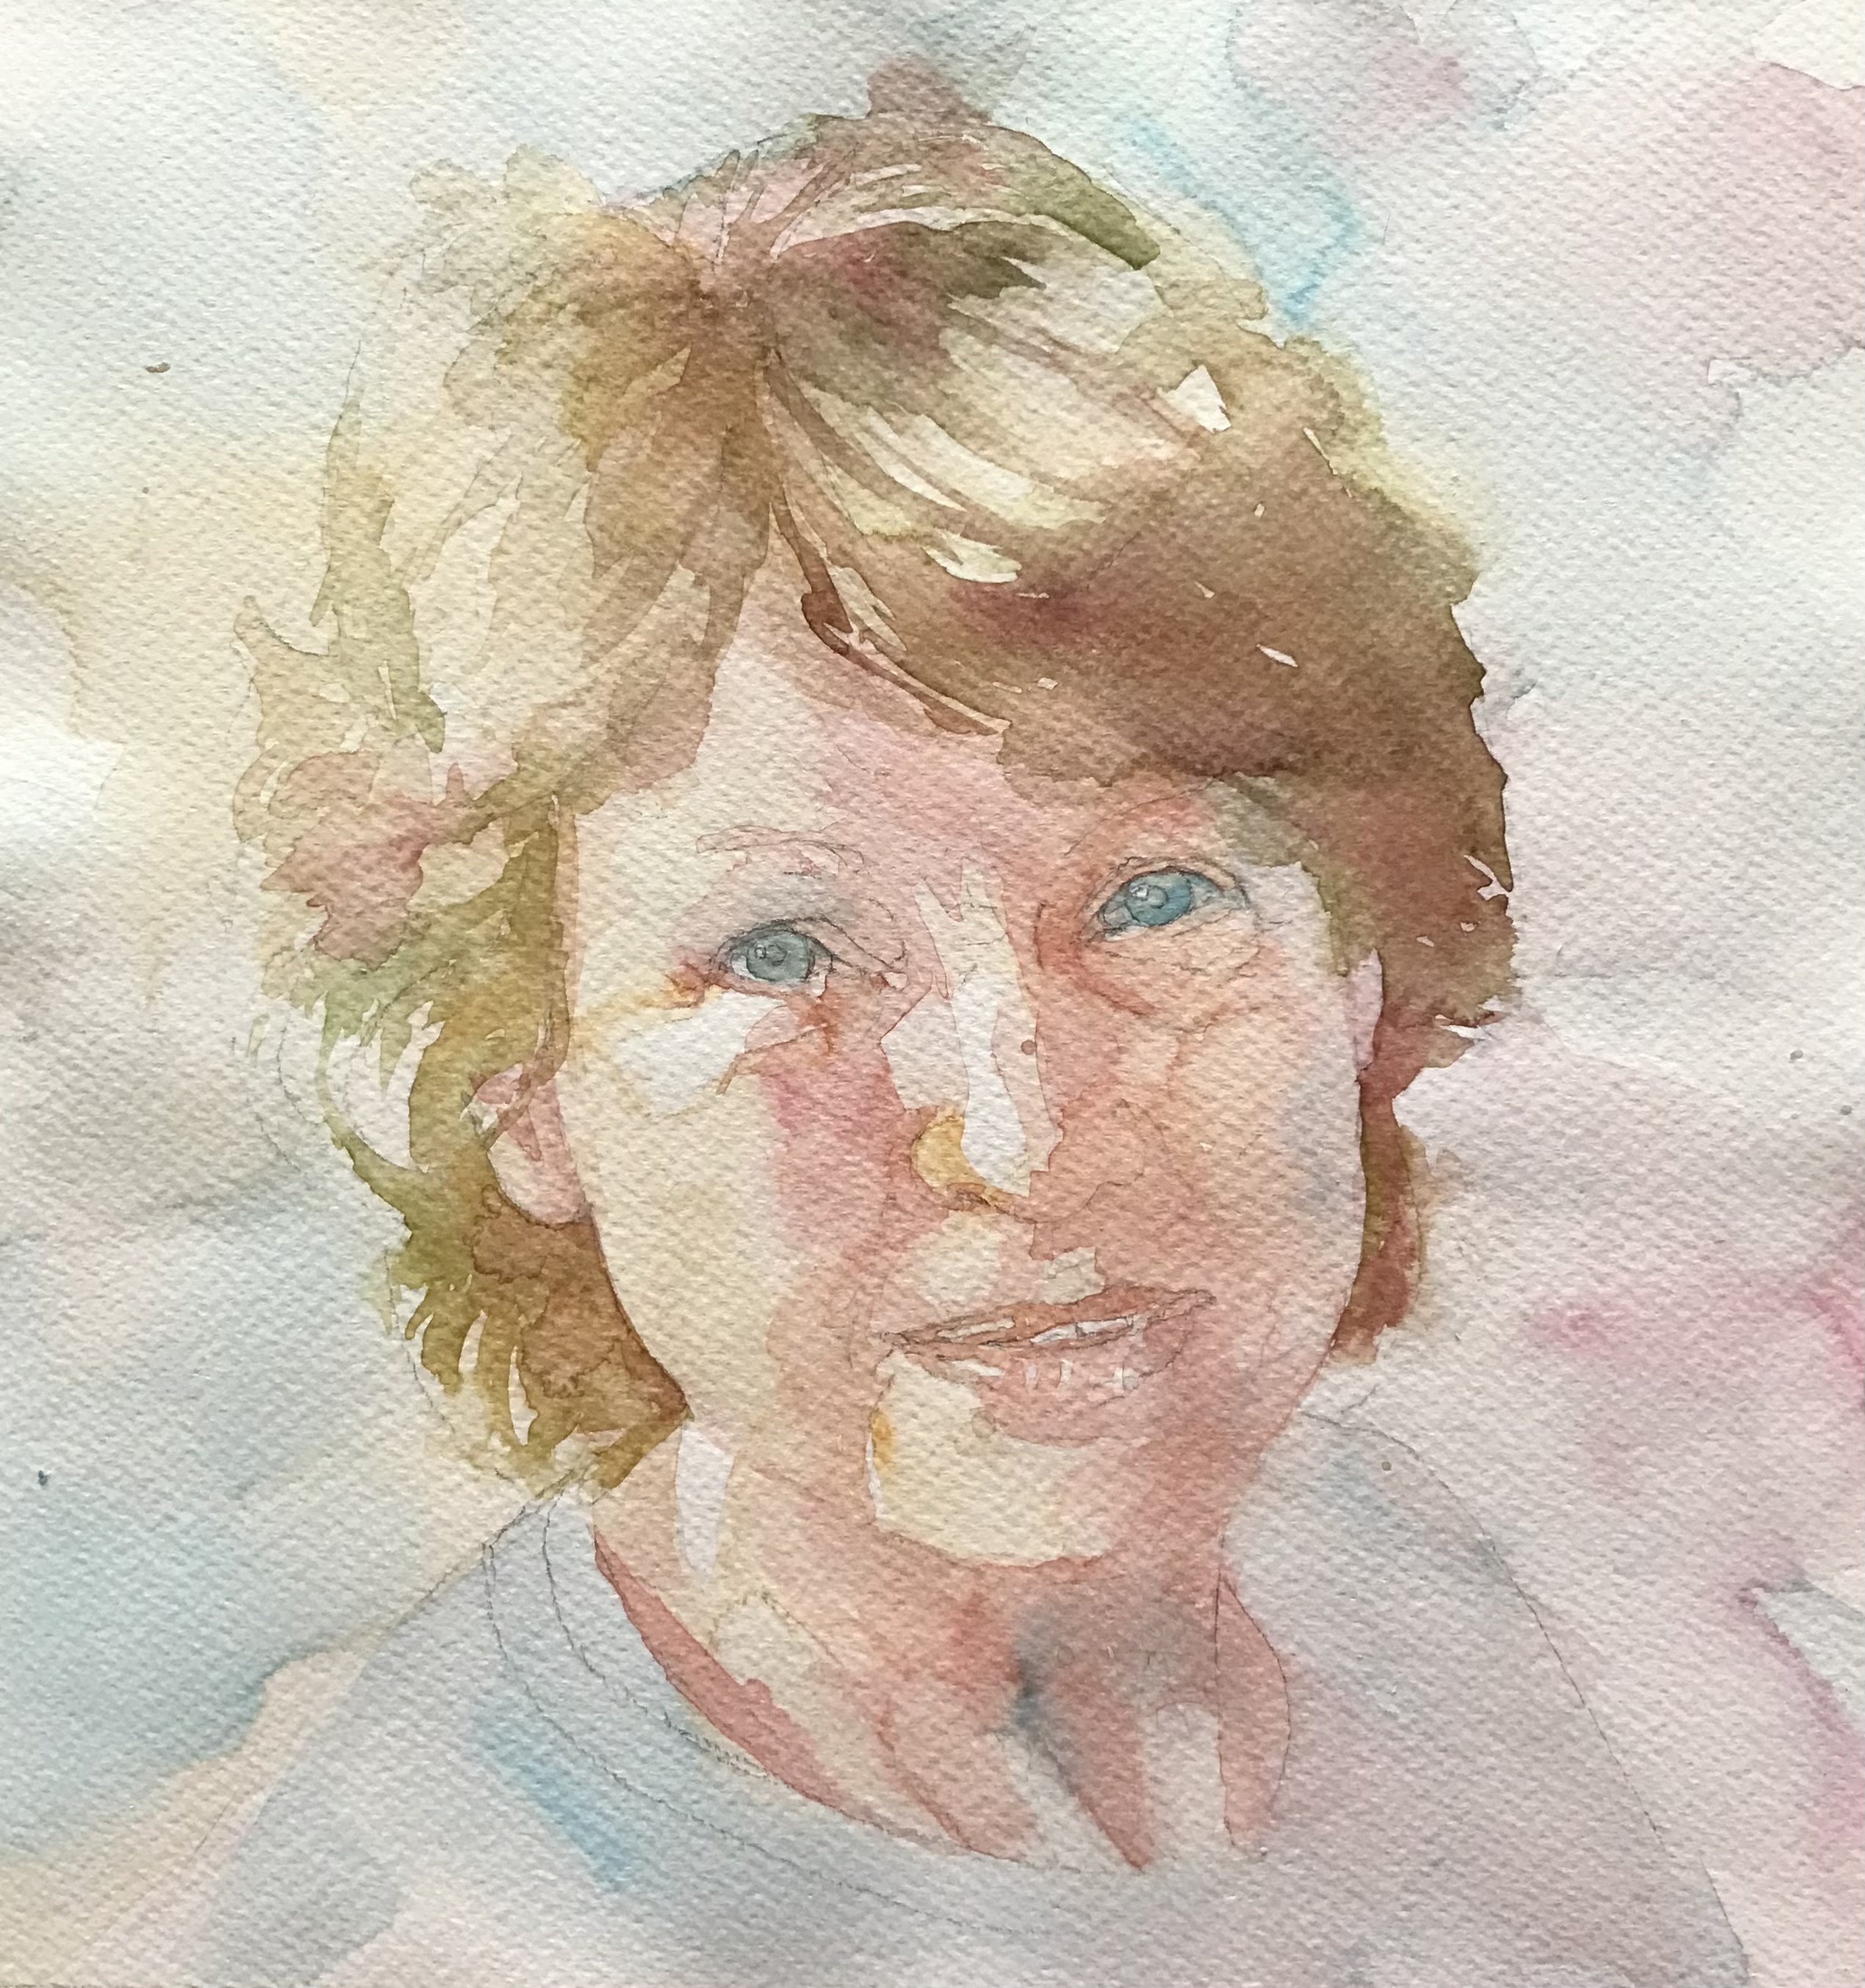
In this layer I want to establish my mid tones, leaving the first layer of paint to show through where I want my lighter tones to be placed. I mix some red and yellow to create the mid tones on the face and a blue/yellow mix to the eyes. I now want to establish the mid tones of the hair, I have found that mixing a bit of sap green into my Yellow Ochre creates a good blond colour! I add a bit of the red to this mix to get a reddish brown for the shadow areas of the hair. I allow this to dry.
The painting looked a bit insipid and needed a bit of contrast. I decided to darken the background, especially on the left where the hair is light. I wet the area on the left and dropped in some red and Fr. Ultr. and then carried on with a lighter wash on the other side. I darkened the dark areas in the hair and some of the dark areas on the face and neck.
